Lake Waubesa Laser Cut Bathymetric Map
In late 2016 I took a woodworking class at McFarland High School as part of an adult education class. When I found out they had a laser cutter (low power, 30 watts) I got permission from the instructor to play around with that instead of “real” woodworking. After several months of messing, I produced a one-of-kind Lake Waubesa “3D” lake map. In truth these types of maps aren’t all that unique; search the Web and you’ll find many companies and individuals that make these. But with my background in mapping, I wanted to put my own spin on things!
This was quite a process. People have asked if I could make something similar for their favorite lake, but I’ve always declined. I would have to charge many hundreds of dollars to cover my time and materials, which makes one-off maps cost prohibitive in my opinion. I can’t put an hour figure on how much time I put into this project because I worked on it over many months, with multiple re-dos!
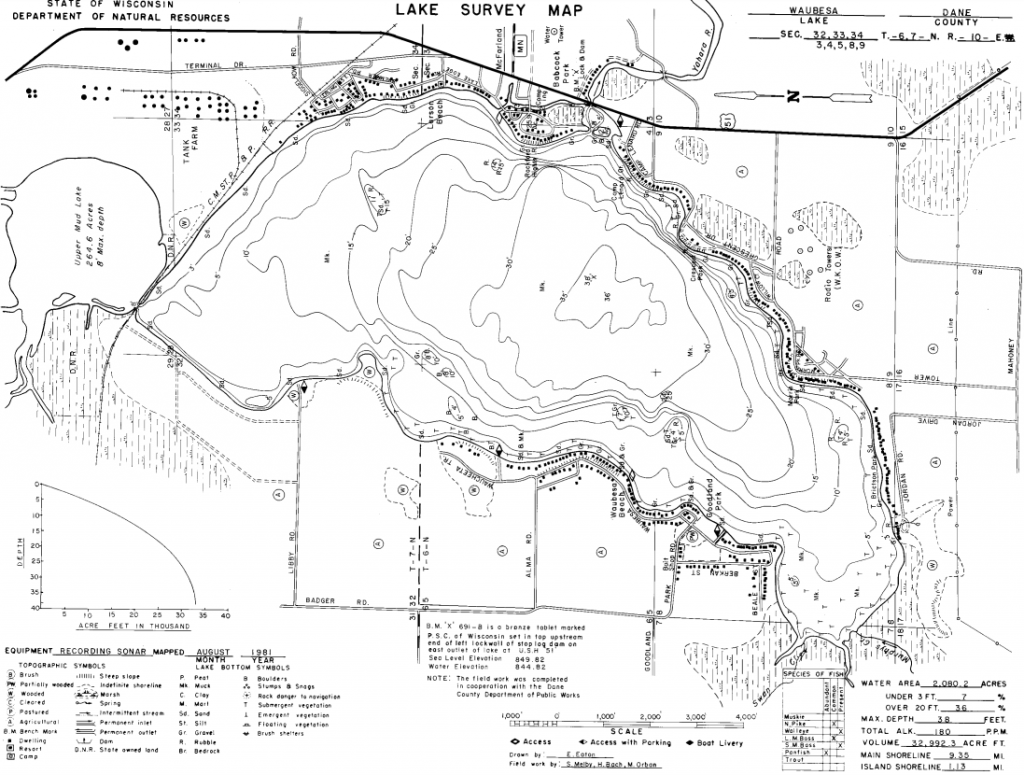
This is where the process started…. a bathymetric (depth) map produced by the Wisconsin DNR in the early 1980’s. I had to on-screen digitize the contours in QGIS.
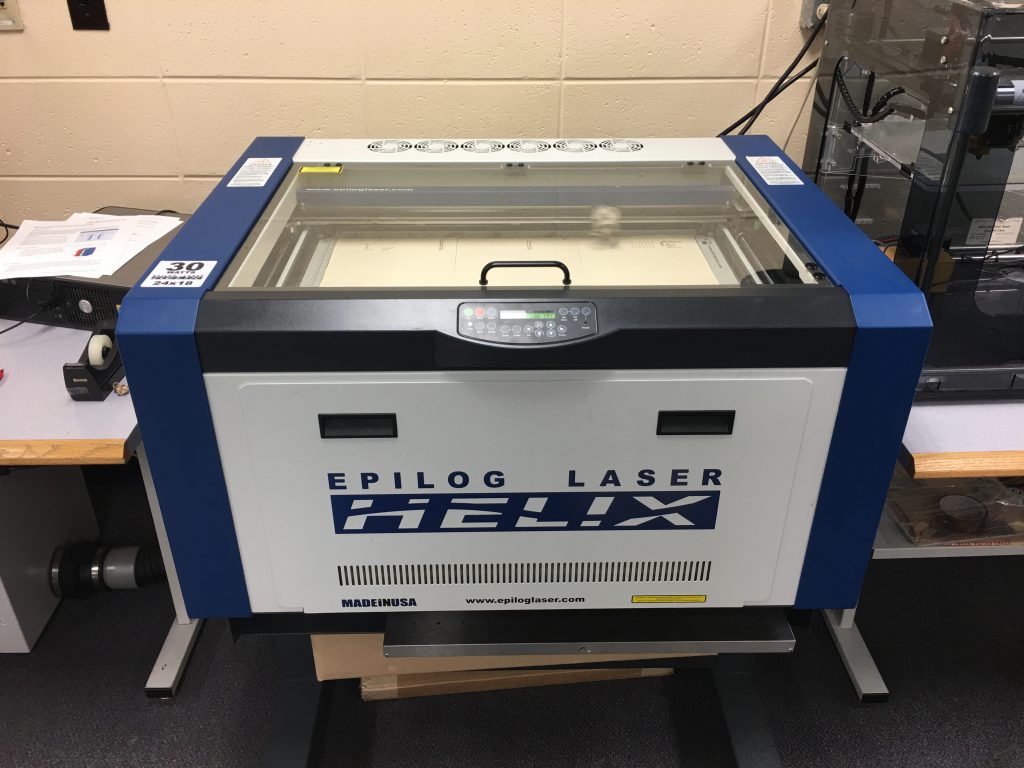
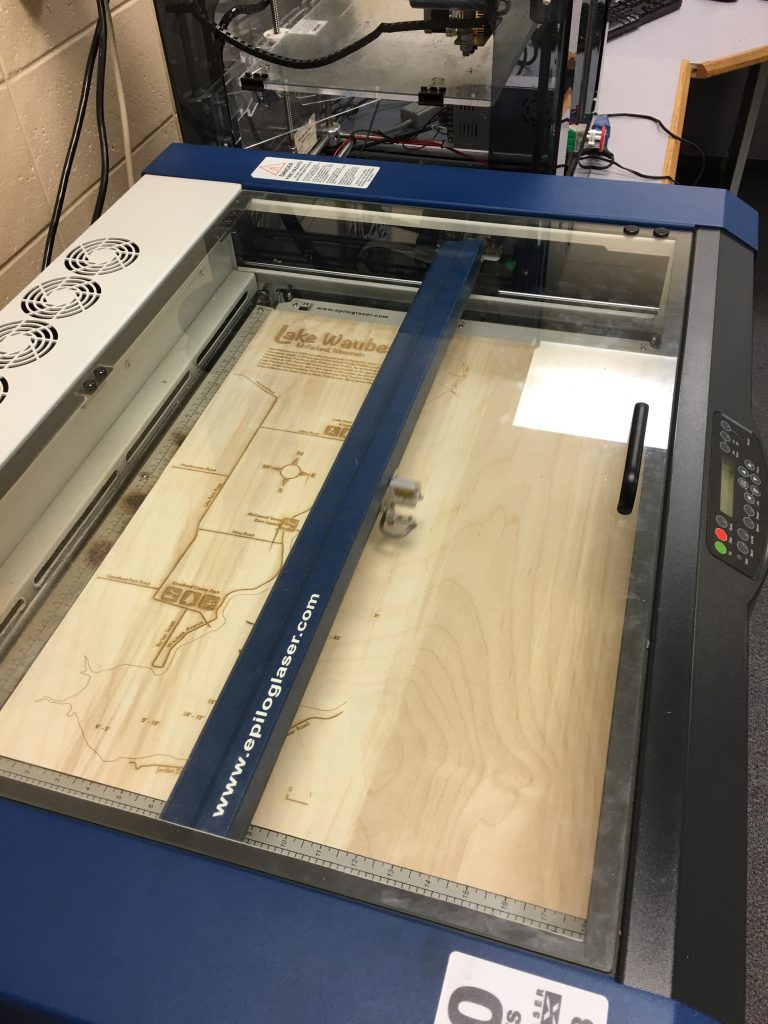
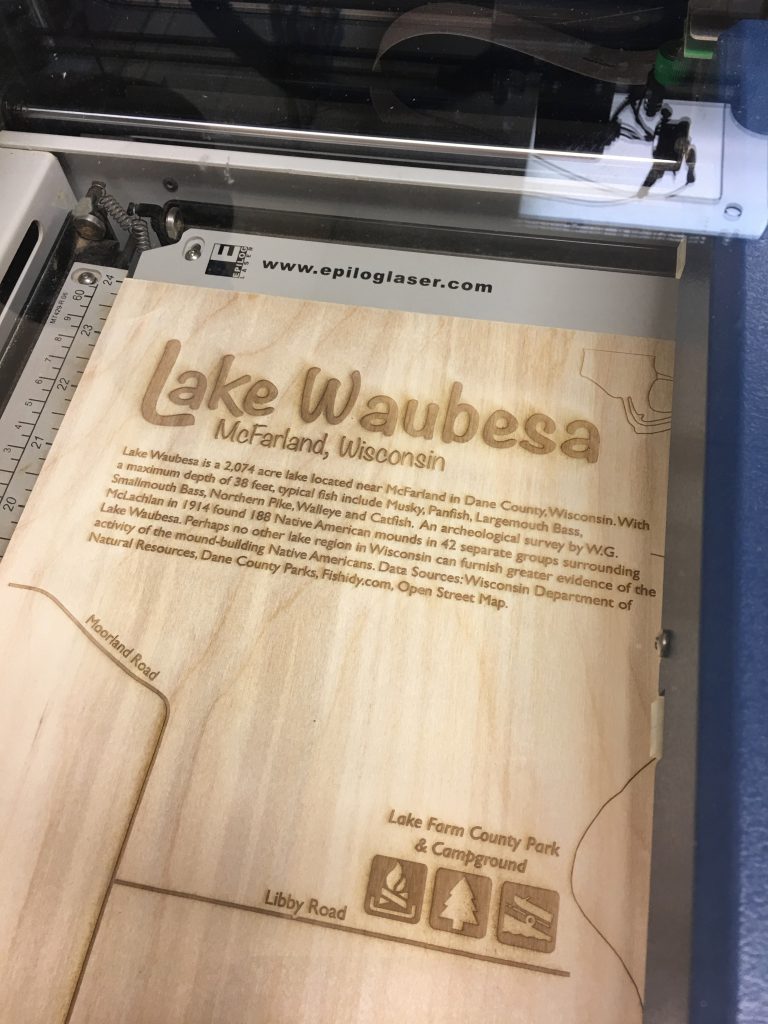
MHS Laser Cutter. The Epilog laser at the high school. It was a very nice unit to learn on.
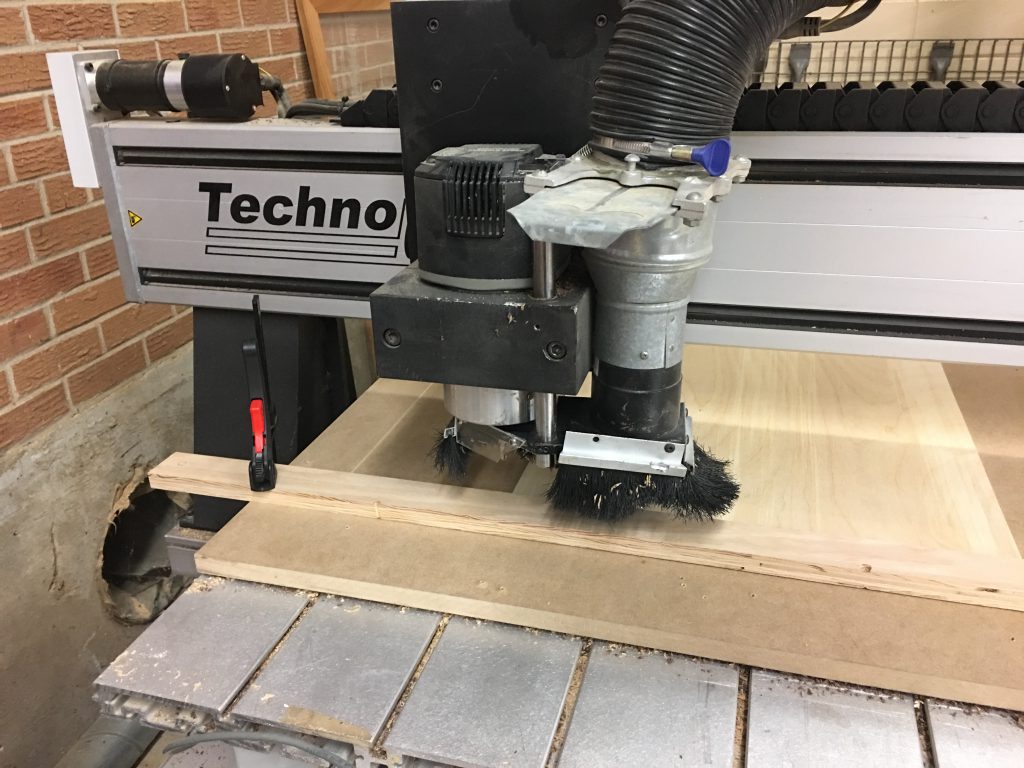
First Attempt at Cutting Layers. The laser at the high school simply didn’t have enough power to cut through the 1/8″ baltic birch plywood I was using. I attempted to use the school’s CNC machine, but didn’t get the best results.
After a little sanding, things looked much better. In the end I only cut maybe two layers on the CNC, the rest were cut by hand on a scroll saw.
Failed Attempt at CNC. I’ve known about CNC for quite some time, but didn’t have any hands-on experience. I thought it would be fun to learn the technology, but it turned out to be one set of problems after another.
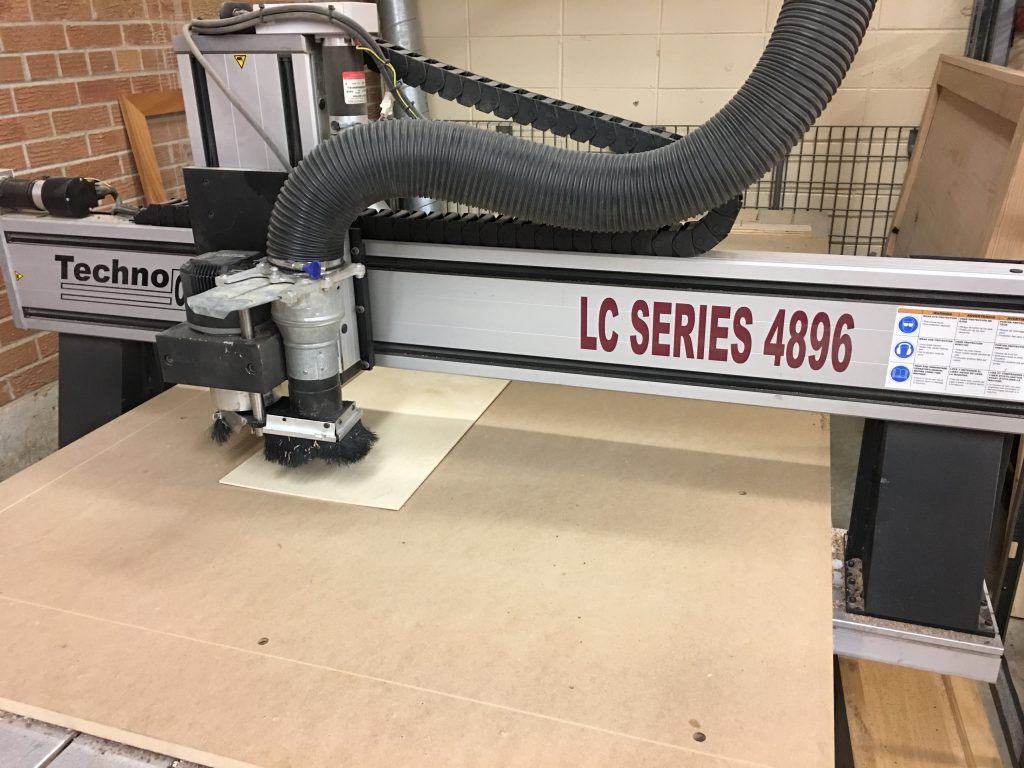
Another problem was the lack of a good method to consistently position the pieces on the bed. I gave up on the CNC pretty quickly since it was never my intent to mass-produce the map.
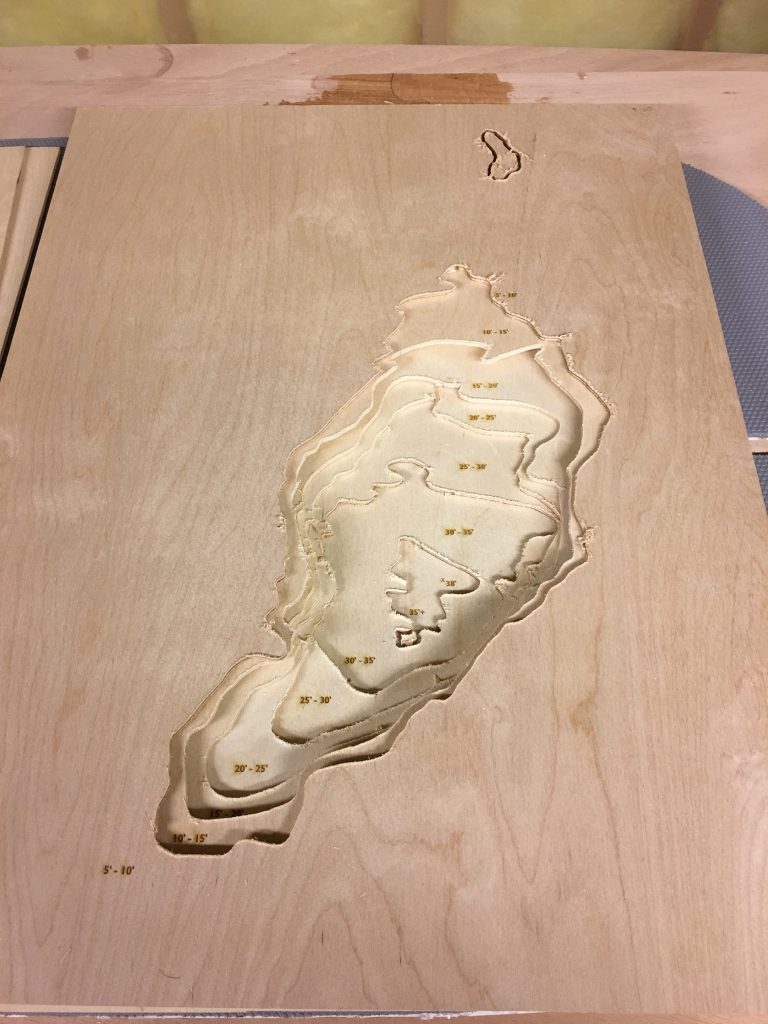
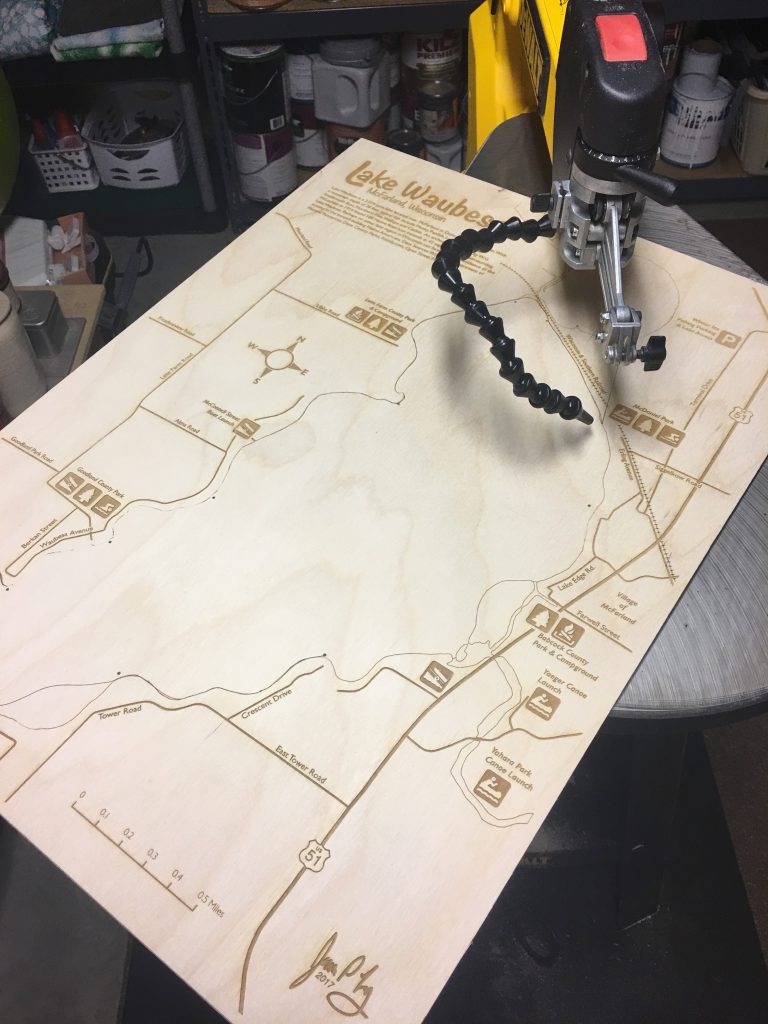
Raster Engraving Map. Engraving the map was basically like printing any other document. The total time to “print” the map layer was about 3 hours.
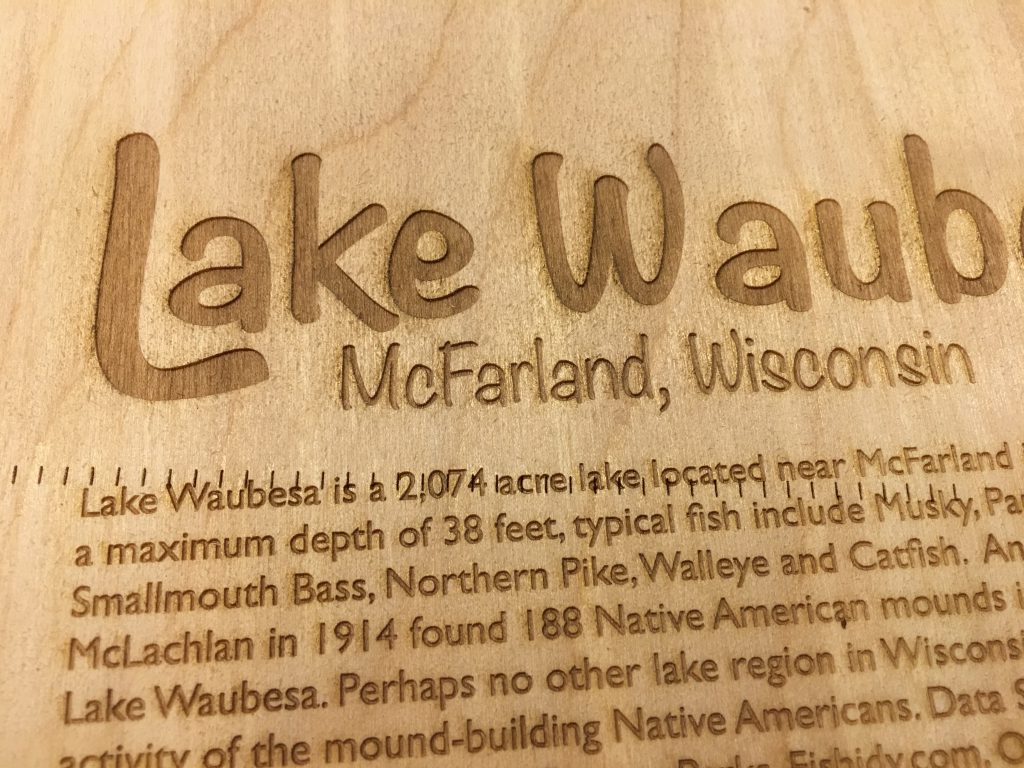
Close Up. Notice the slight overburn surrounding the engraving. This is caused by minor flare-ups and the smoke generated by the laser doing it’s thing. A light sanding cleans things up nicely.
Mistakes When You Least Expect Them. I was printing from a PDF file generated in QGIS. At times, very odd things went wrong. The hashed line you see was actually a railroad that was masked out in the PDF… completely invisible. Yet the laser device driver saw it as a line to print right through the text.
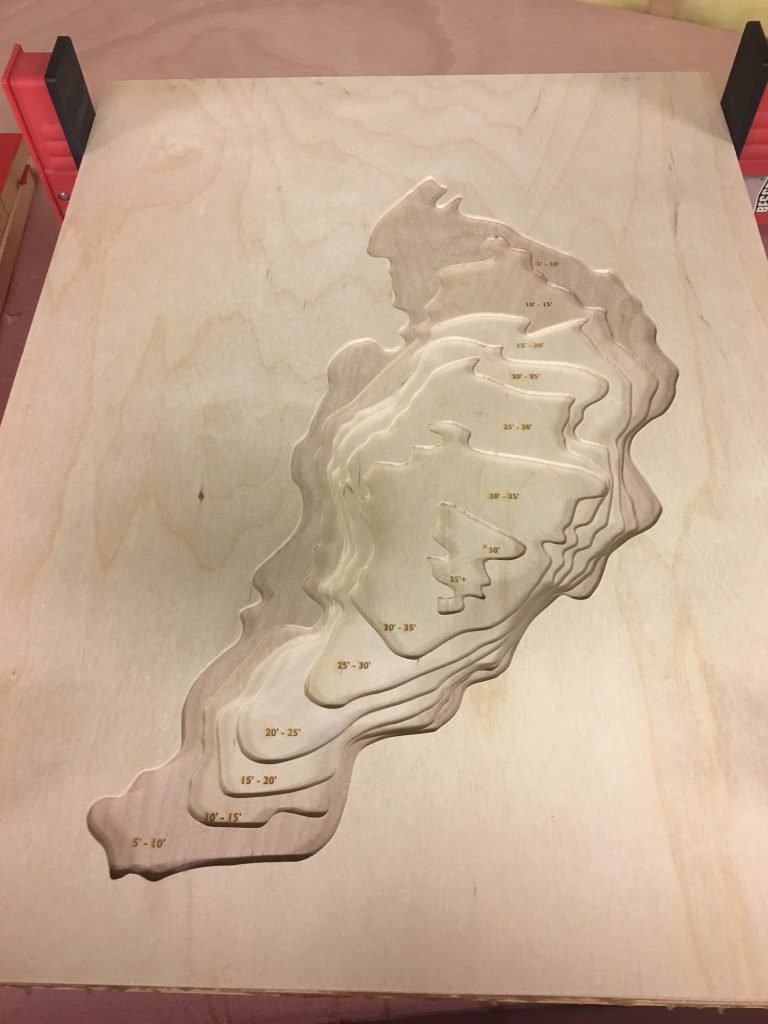
Cutting the Layers. As noted earlier, all of the cutting for the final product was done on a scroll saw. Even for the top (map) layer that was the most complicated, it wasn’t too labor intensive. I used the laser to mark each sheet so I knew where to cut.
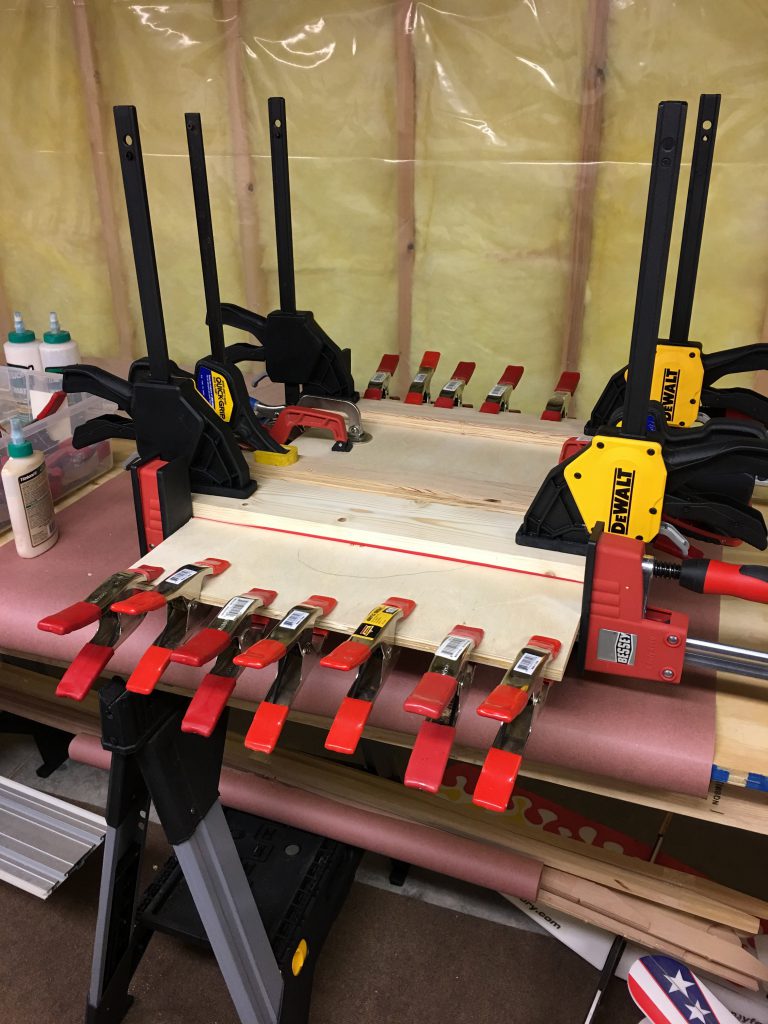
Version 1 FAIL – How NOT to Glue Layers. I thought this was the best way to glue up version 1… nope. I didn’t realize it at the time, but the sheets where bowing crosswise during the process. I determined there was no way this could fit in the frame I was designing. So, on to try #2…
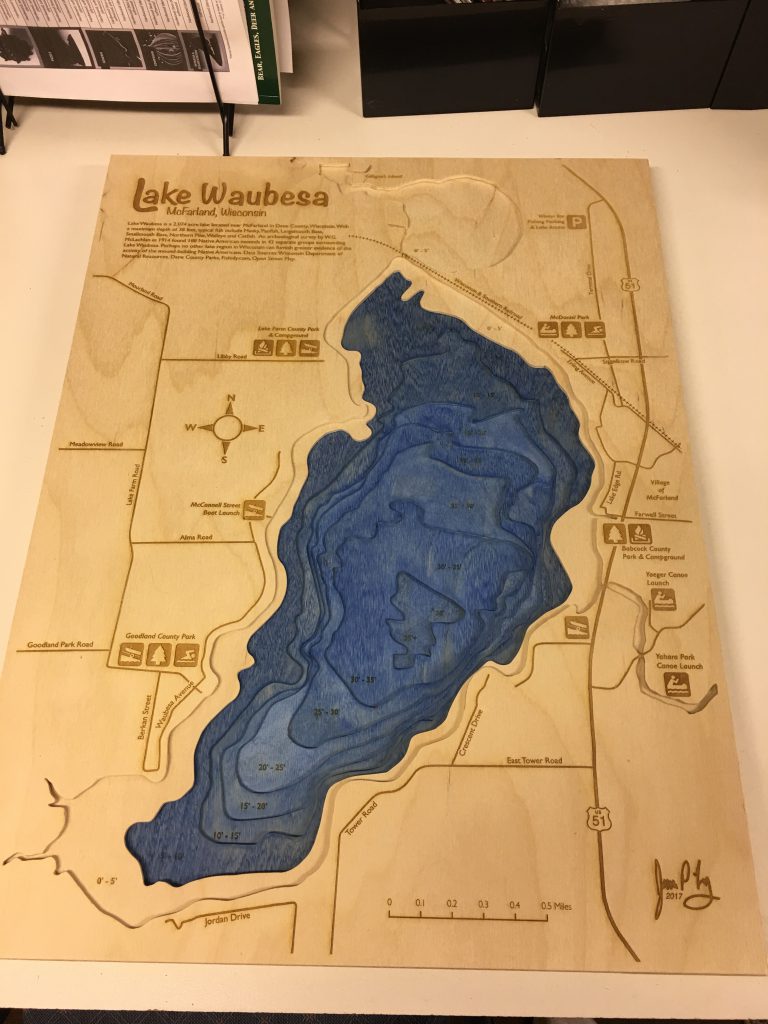
Version 2 FAIL – Experiment with Wood Dye. Most of the similar maps I’ve seen use what appears to be a very light application of blue pigment-based dye, so I followed suit. I thought the results were terrible. I was so close, but I just wasn’t happy with the results. So, try #3…
Experimenting with a Different Approach. Sidenote: I also played around with a inkjet transfer process developed by DASS Art. You print to a proprietary piece of film (in reverse), apply their “sauce” to the surface, and press it down very carefully. Peel back the film, and the lettering is left behind on the wood surface. Slick!

The only real problem here is the expense. DASS sells rolls that could be loaded into a large-format plotter, but those rolls cost close to $300 last I checked.
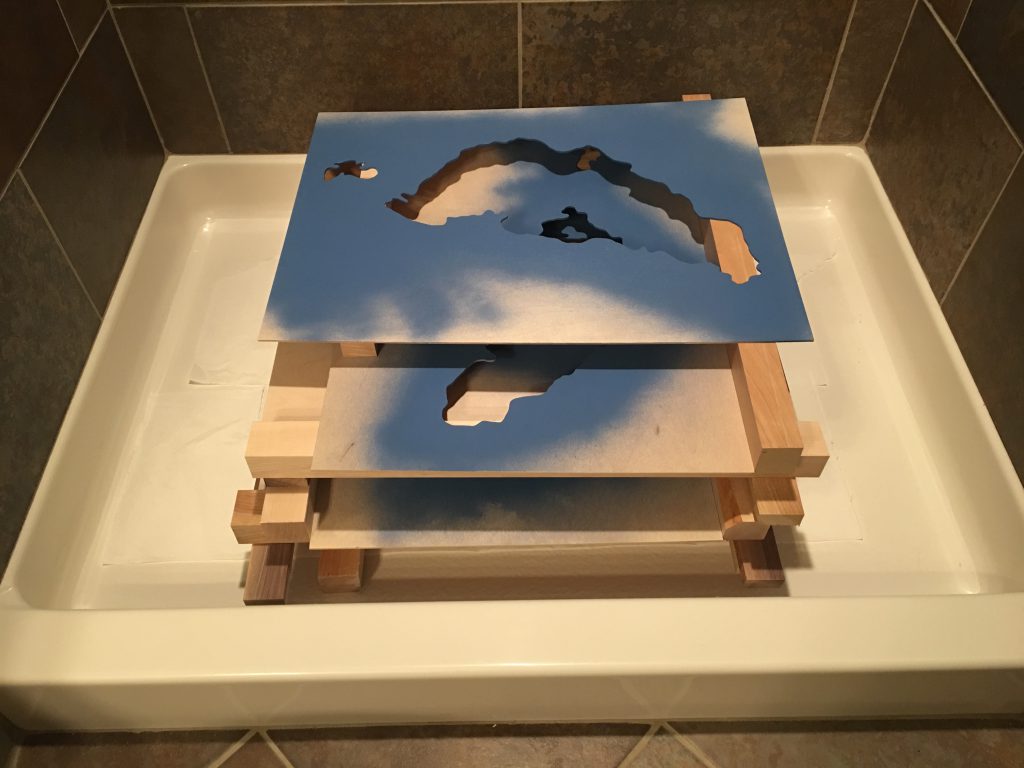
Painting the Layers. Instead of banging my head against the wall with dye, I tried a completely different approach. I thought I would just spray paint the wood a solid color prior to gluing. I only painted the exposed areas so the glue would adhere better.
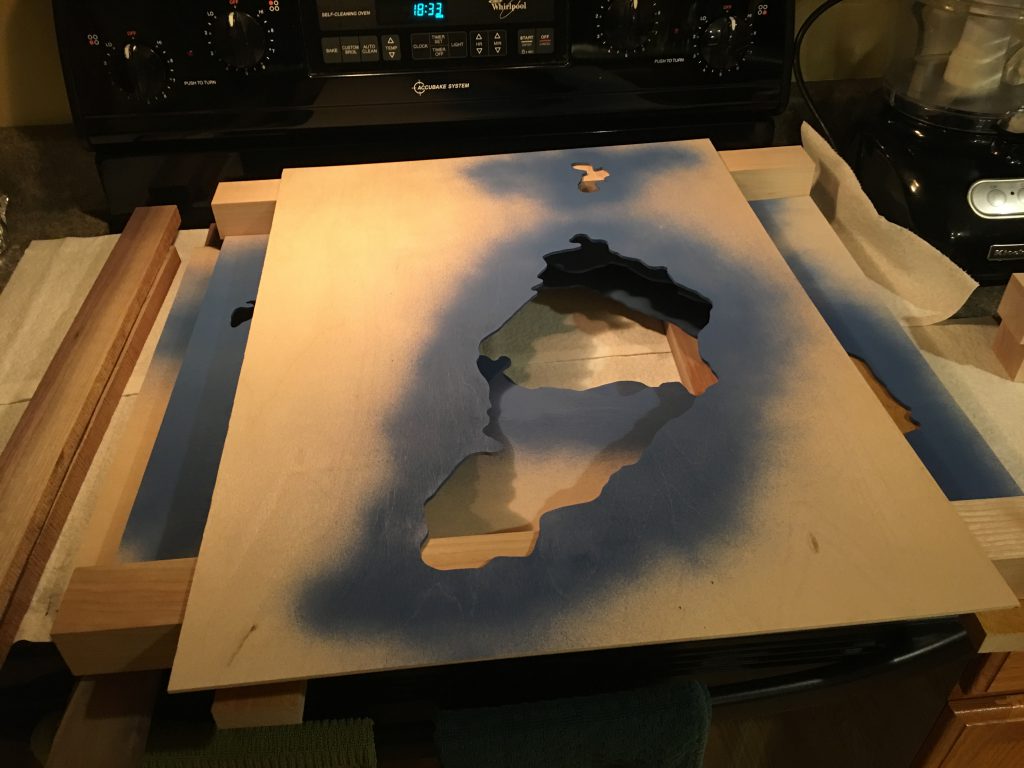
Because I was working in the middle of a Wisconsin winter, I didn’t want to leave pieces to dry in the cold garage. So I had to improvise a bit. I painted a piece, then ran it inside to dry in places that had a fan to exhaust the stink.
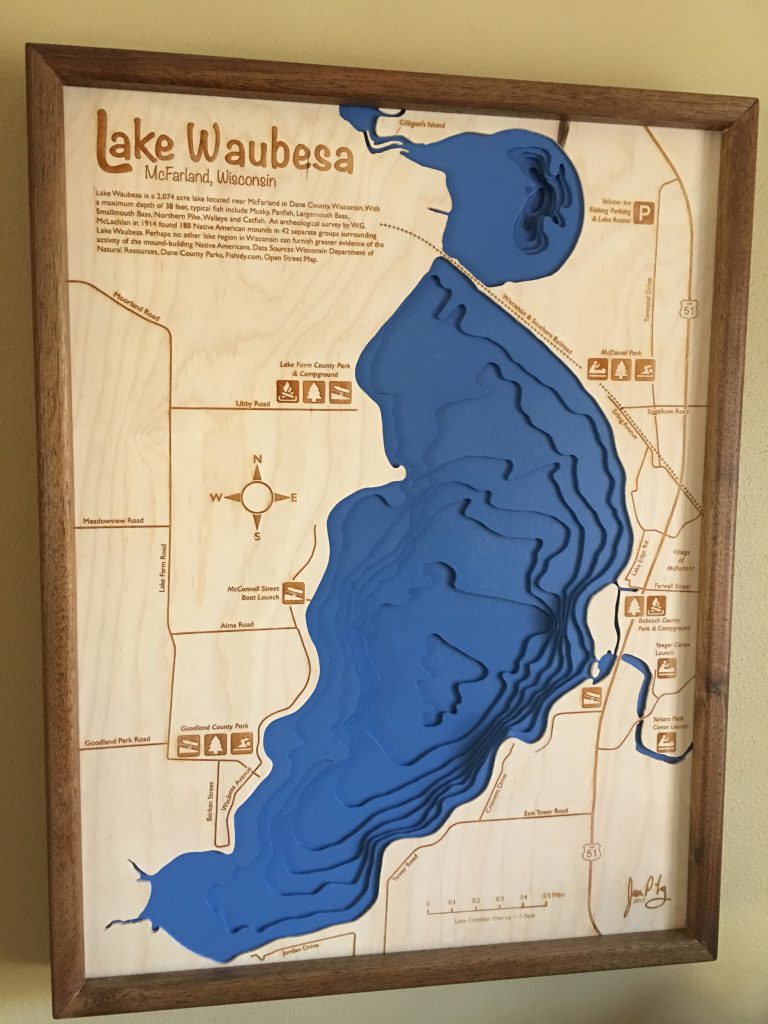
Final Map. A look at the final (version 3!) product. I’m very happy with the blue of the water, turned out better than I hoped.
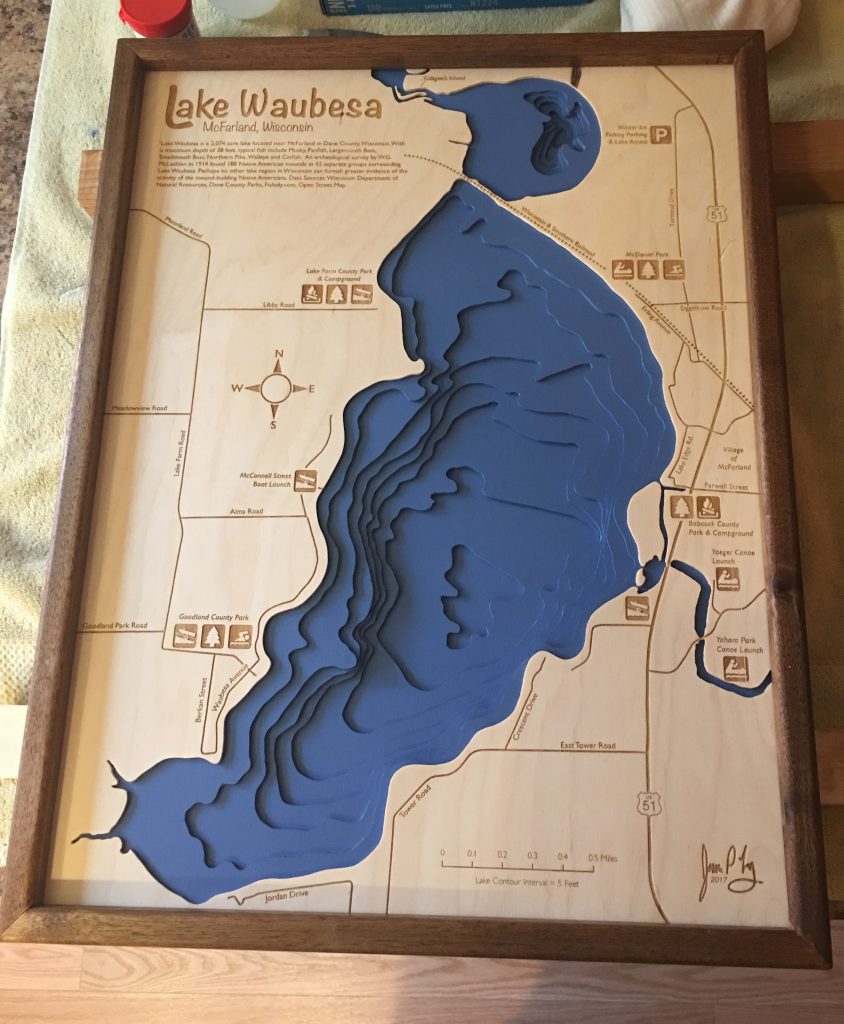
I constructed the frame from walnut with a simple danish oil applied.
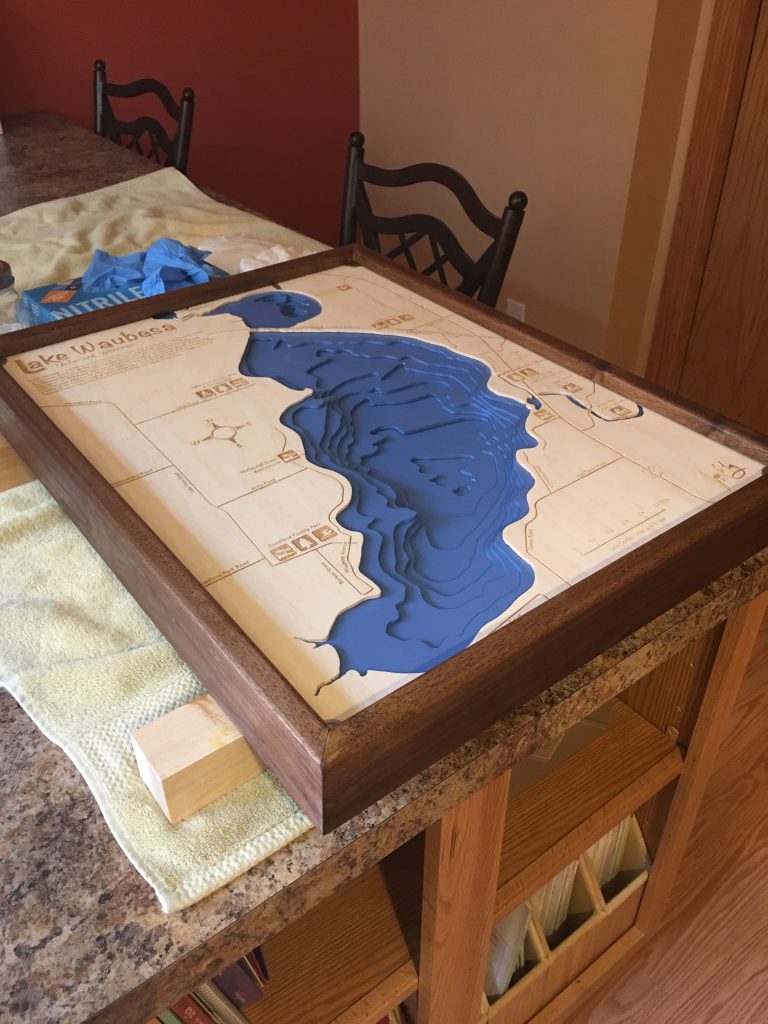
Since the map is moderately heavy with all that layered wood… maybe 15 pounds… it hangs on the wall with a french cleat.