Building a Boat: Shearwater Hybrid Kayak
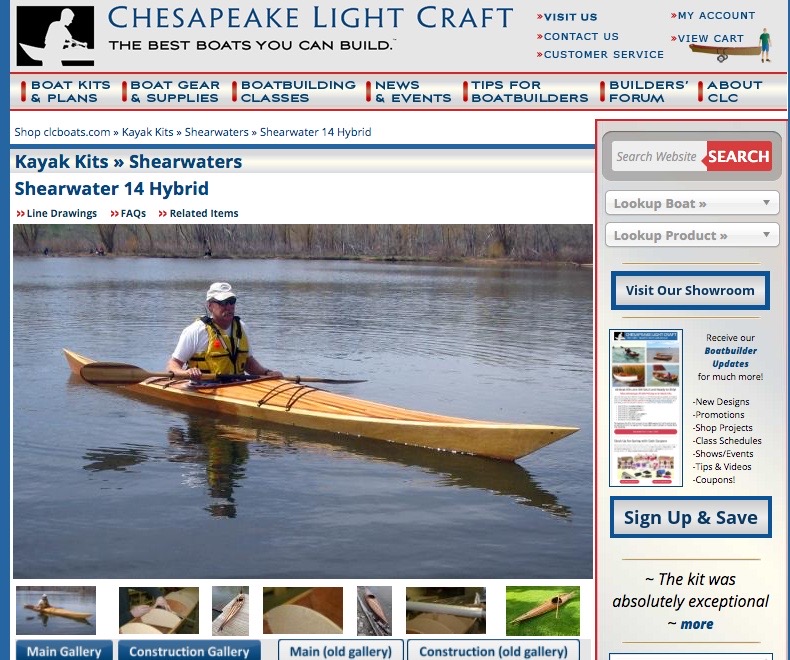
In 2010 or so, we went all-in on kayaking and haven’t looked back since. While we never get out as much as we like, we enjoy our time on the water. In 2012, I learned about Chesapeake Light Craft while attending Canoecopia in Madison. Being a tinkerer at heart, I couldn’t resist the challenge of building my own boat. I opted for their Shearwater 14 Hybrid model, which is a combination of an okoume hull and cedar/walnut/maple stripped deck. The process isn’t terribly difficult, but it’s very time-consuming. This remains a forever “in progress” project!
Chesapeake Light Craft. CLC is a great little company that produces their kits in Annapolis, MD. They provide great support when needed.
Kit Arrives. This is what you get. Pretty much all the supplies you need, just supply your own tools.
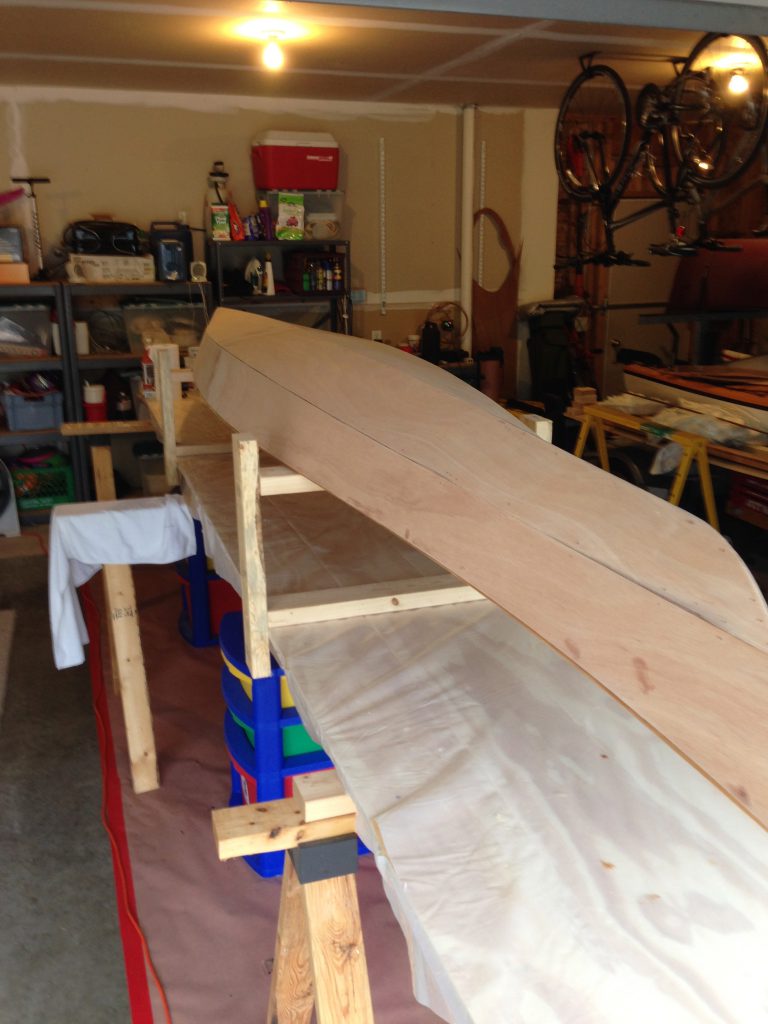
Assembly begins with the hull. The hull is constructed with marine-grade plywood.
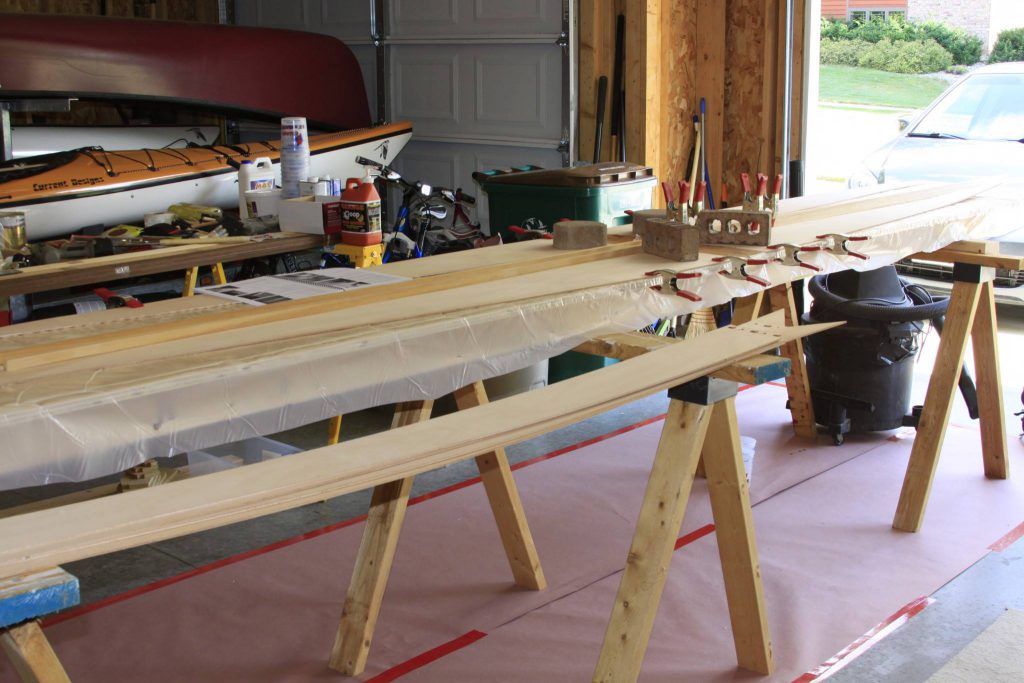
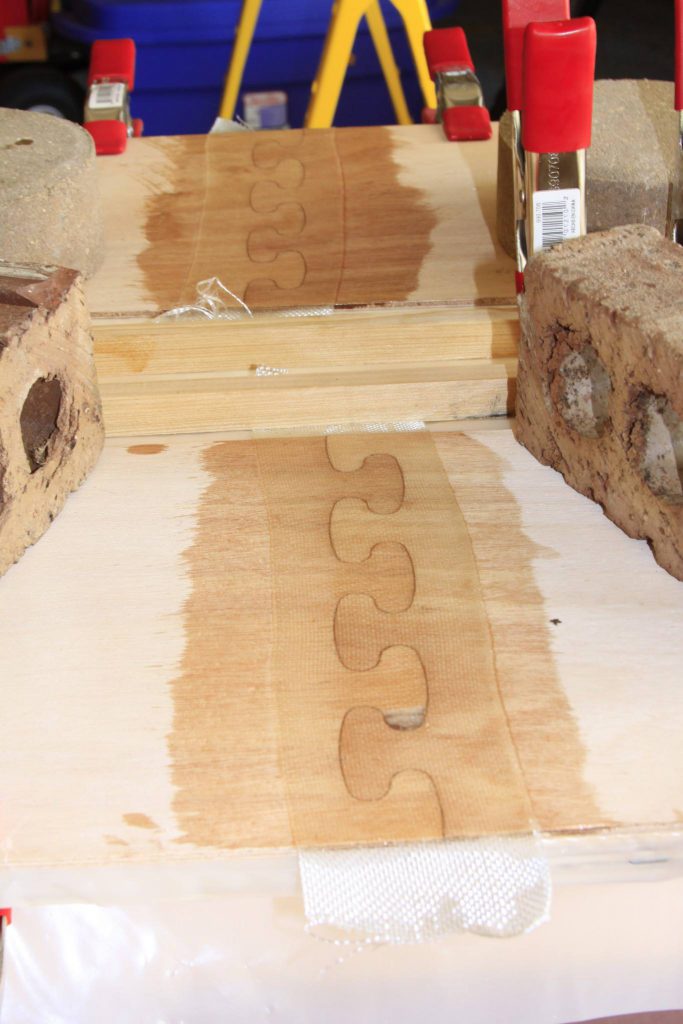
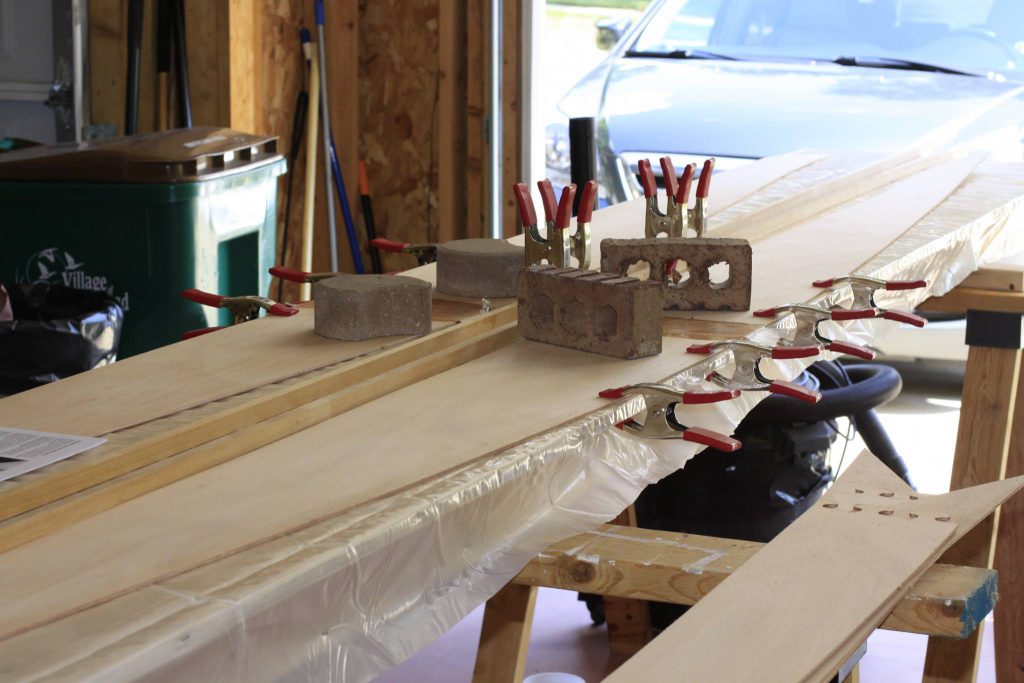
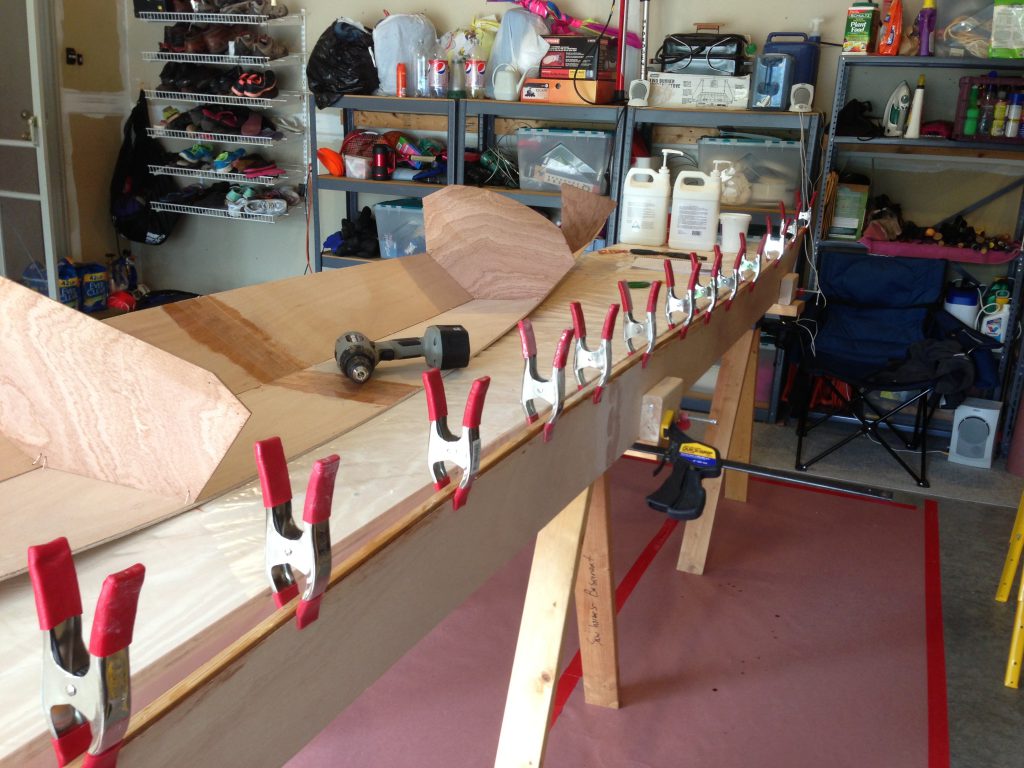
Joining halves together. Total length of the boat is 14′, and it’s not practical for CLC to ship individual pieces of wood that long. So the halves are joined with this puzzle-piece joint, reinforced with fiberglass.
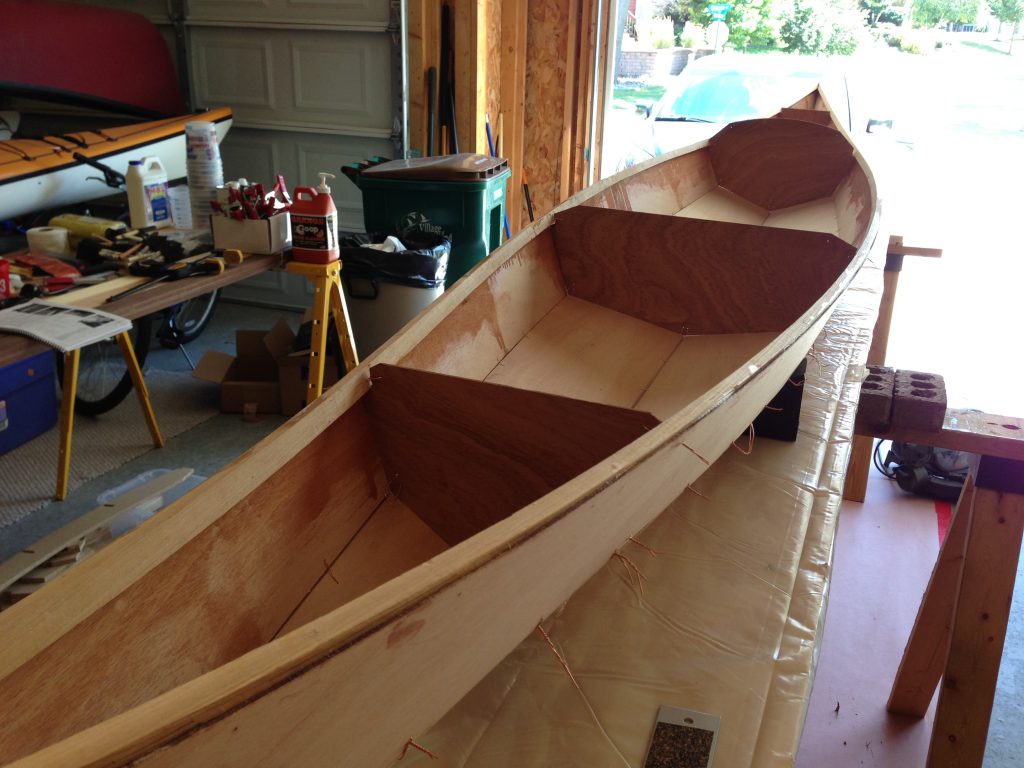
Hull Assembly
Adding interior bulkheads
Assembling the hull sides
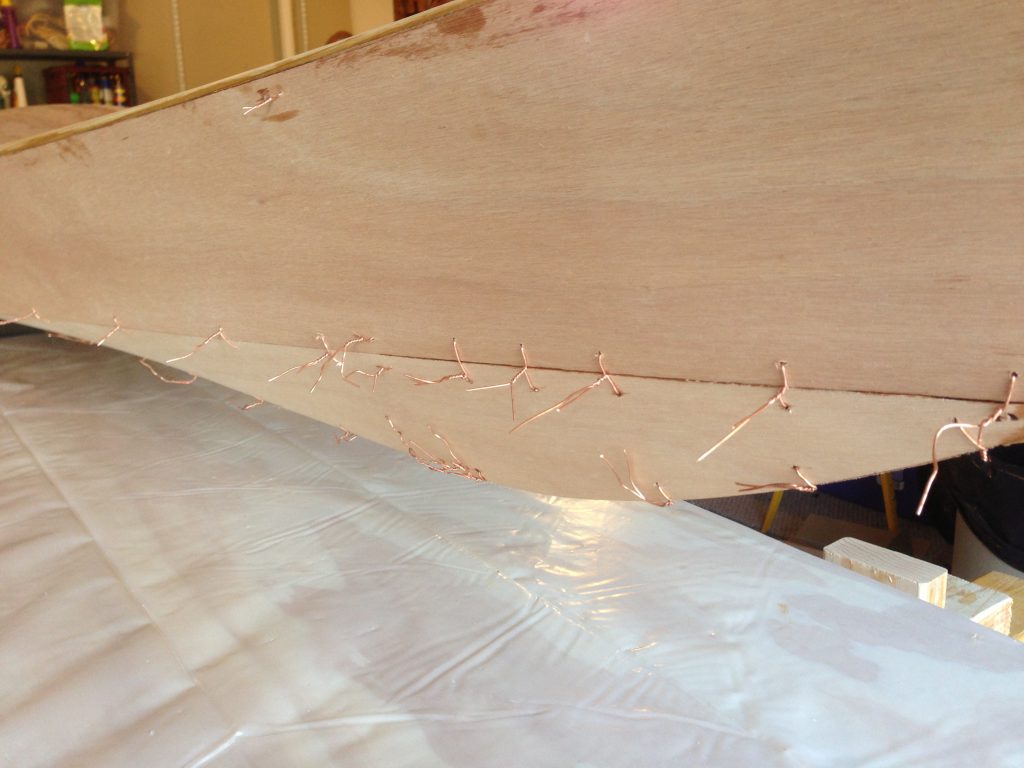
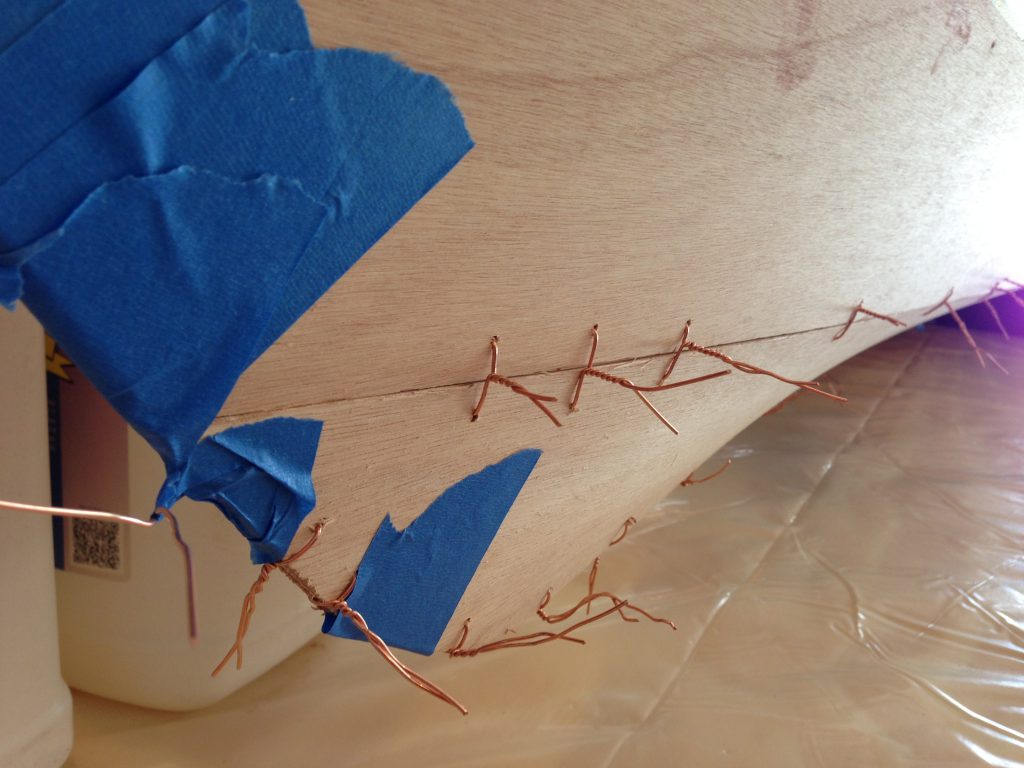
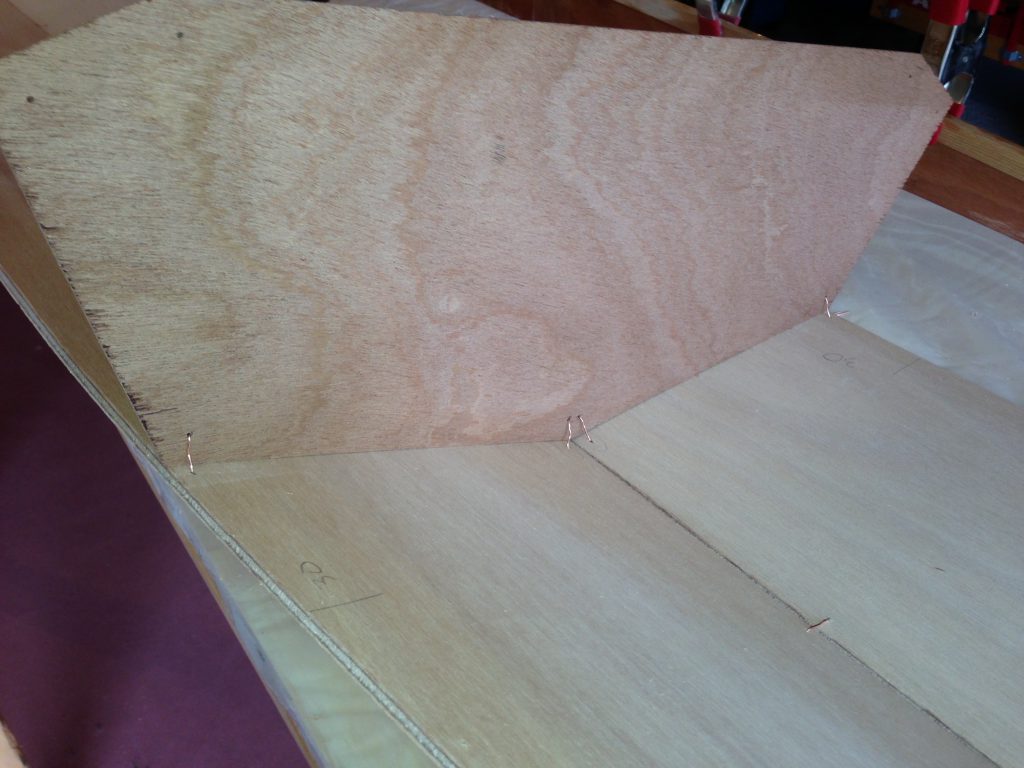
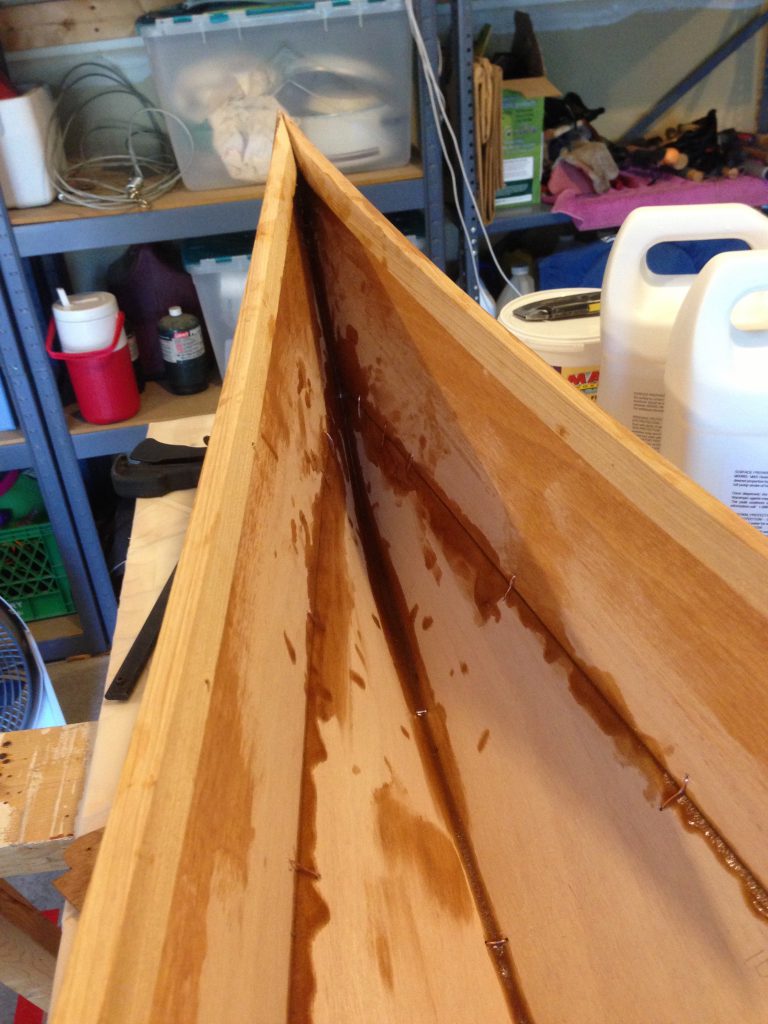
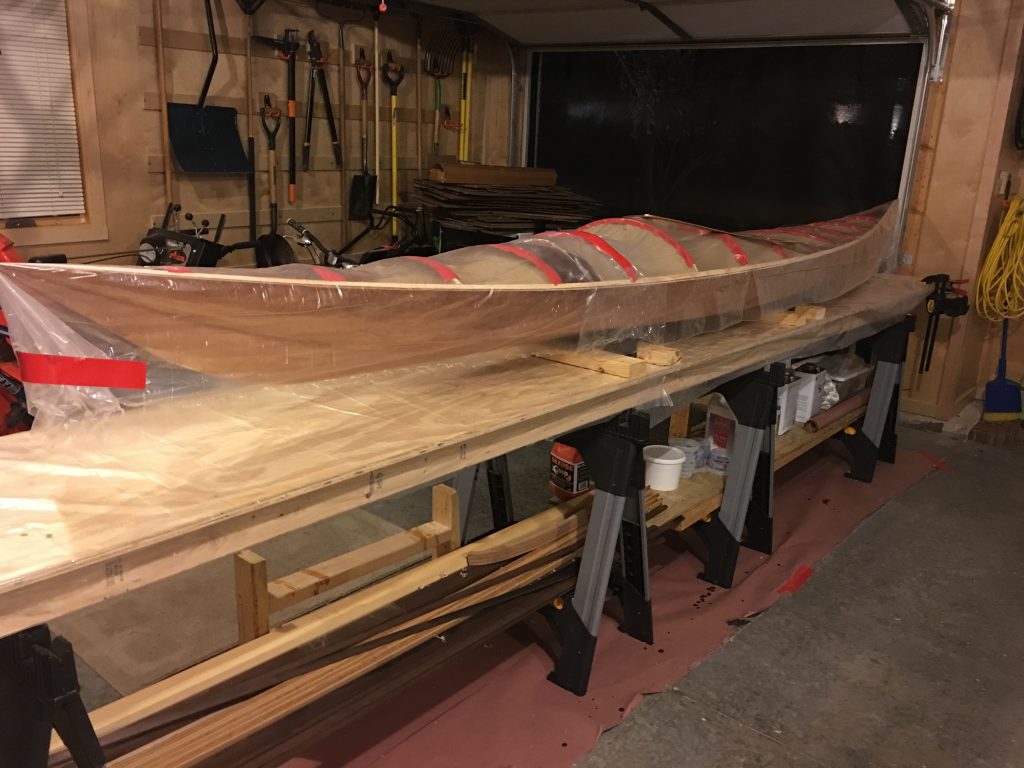
Joining things together. Everything is held in place temporarily with twisted copper wires.
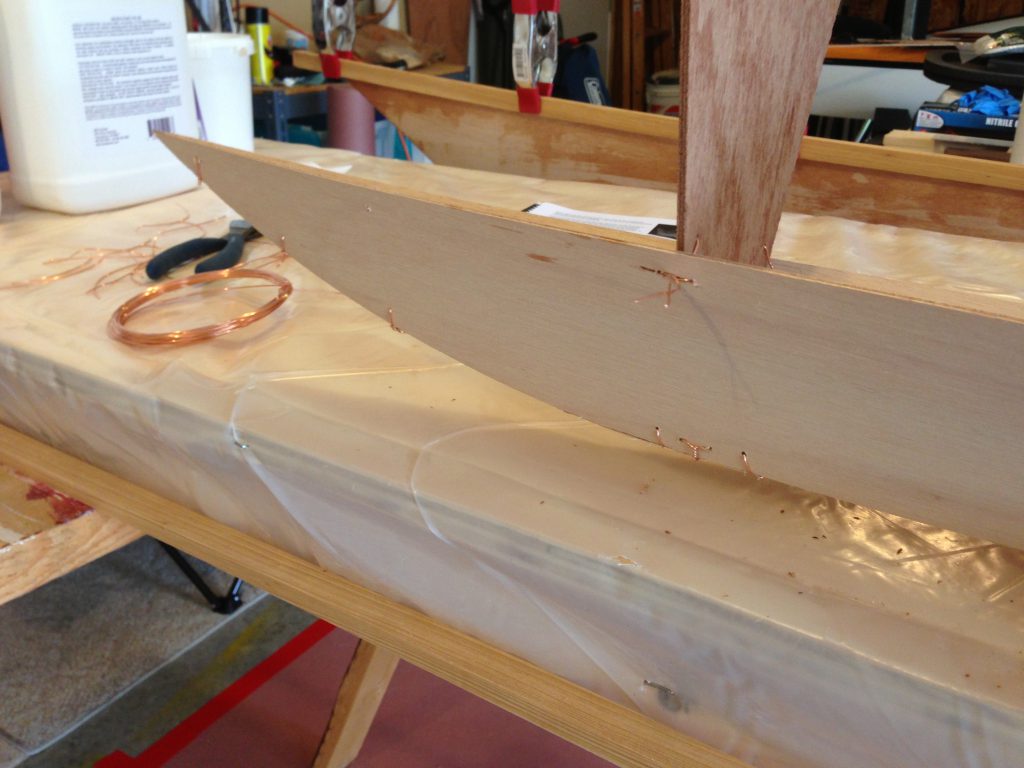
Starting to look like a boat!
Interior Detail
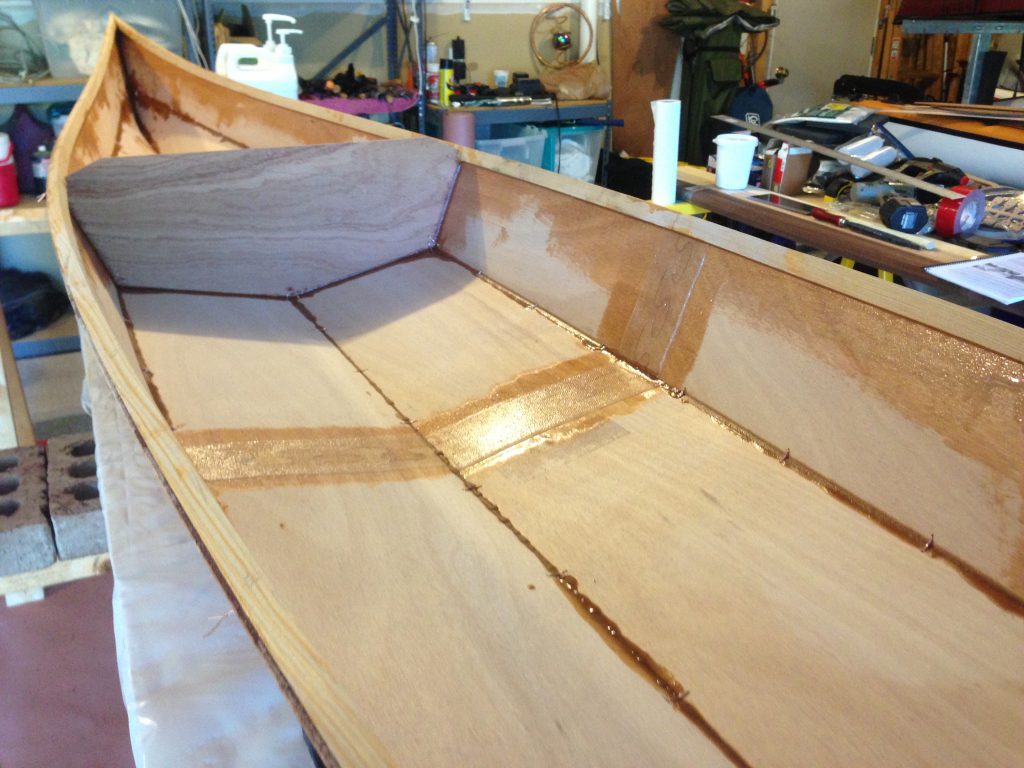
Pieces are tacked together with beads of epoxy, … then the copper wires can be removed
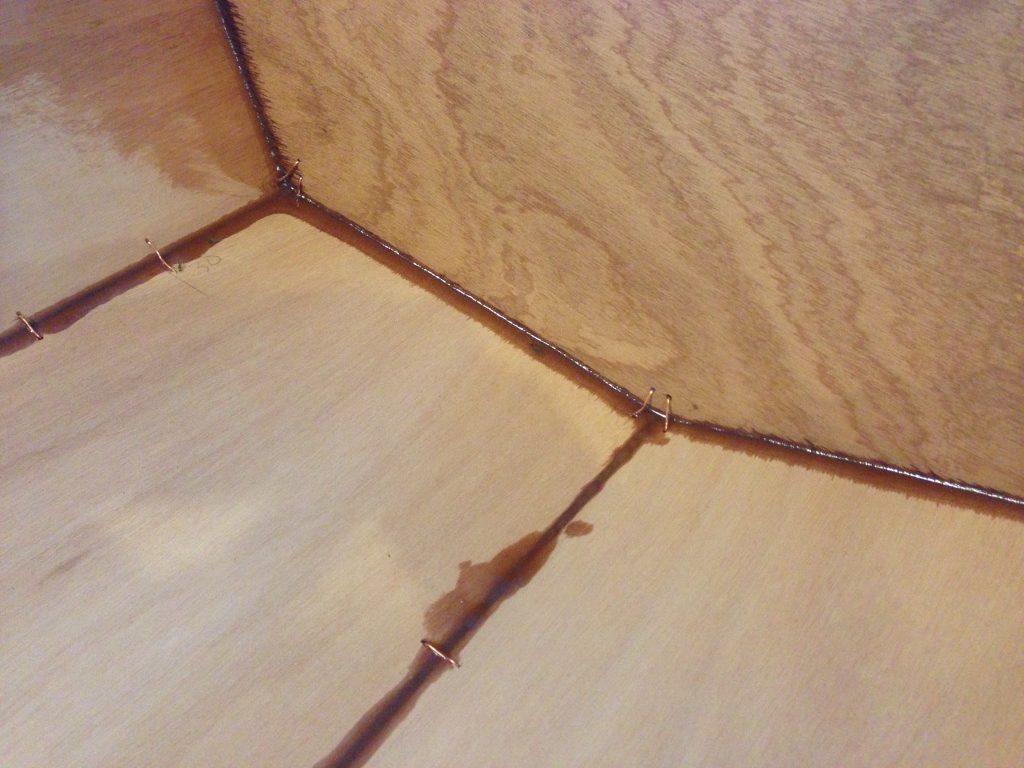
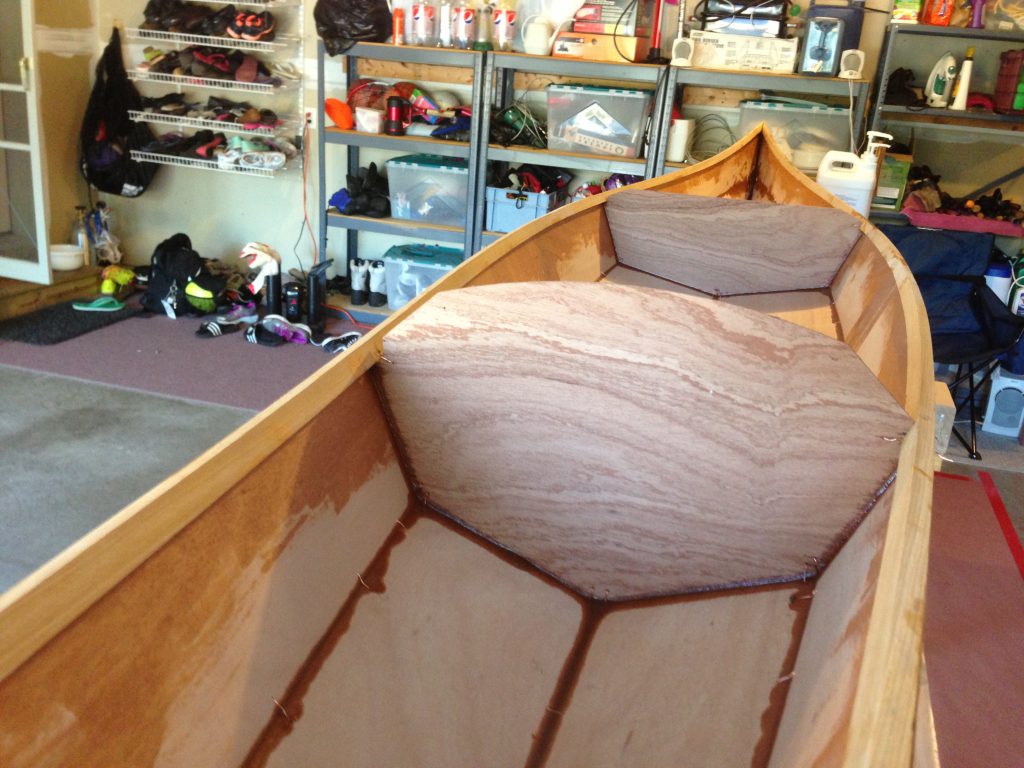
Reinforcing the seams. “Wood flour” (fine sawdust) is mixed with epoxy to create a peanut-butter like slurry that is use to beef up all the joints.
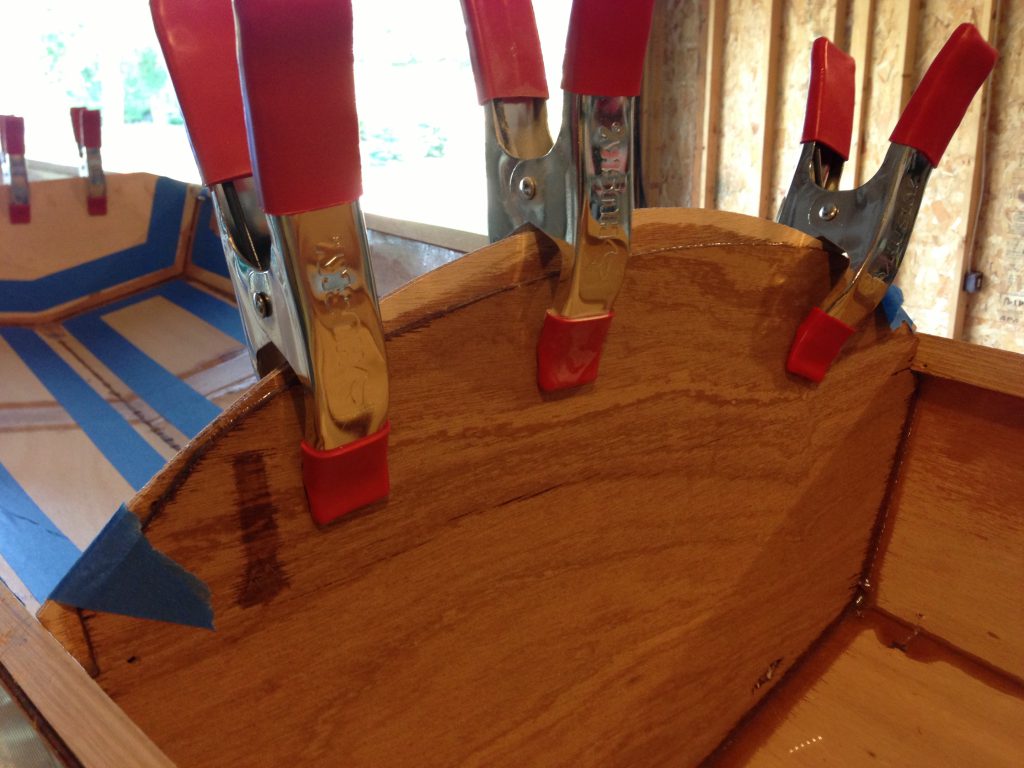
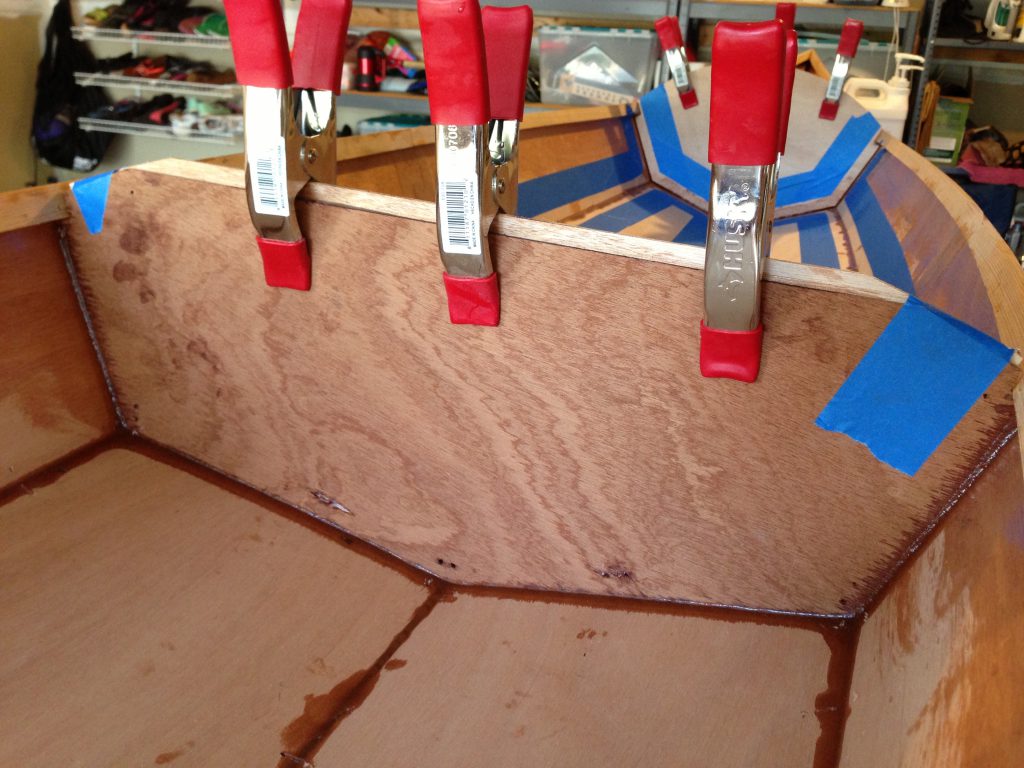
Keeping it clean. I’m a little OCD, so I used blue painters tape to mask things off so I keep the lines nice and clean.

Whoops. Along the way, something didn’t seem right. Turns out the kit included the wrong bulkheads. CLC quickly sent he correct bulkheads, so I just doubled them up… worked out fine.
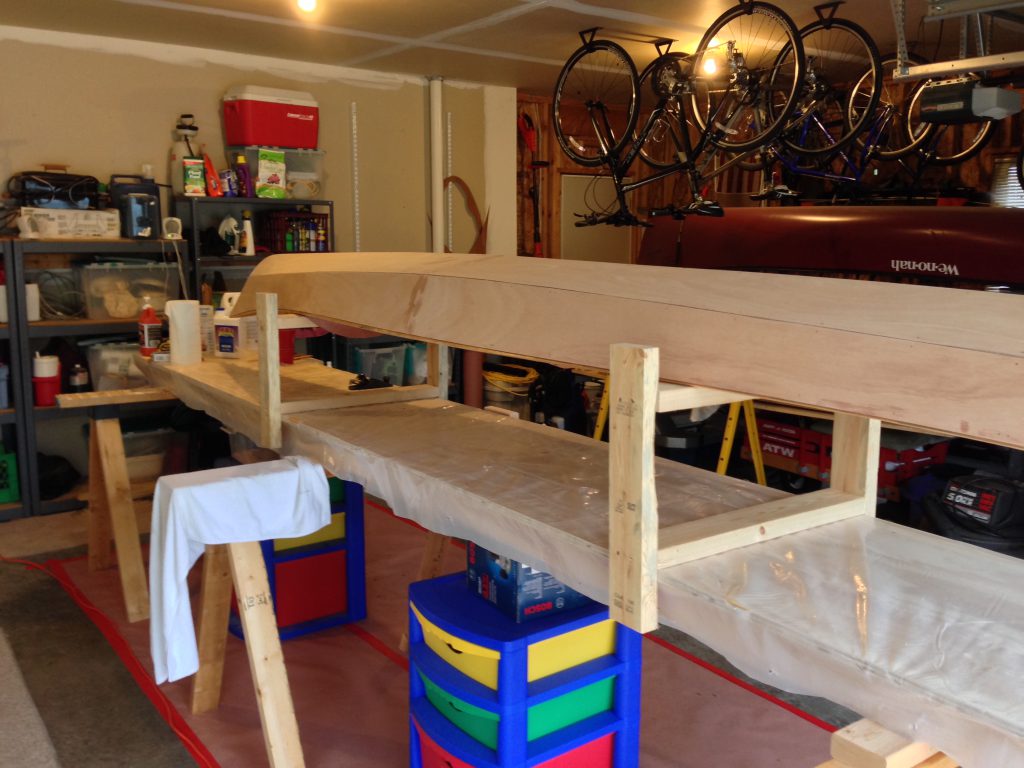
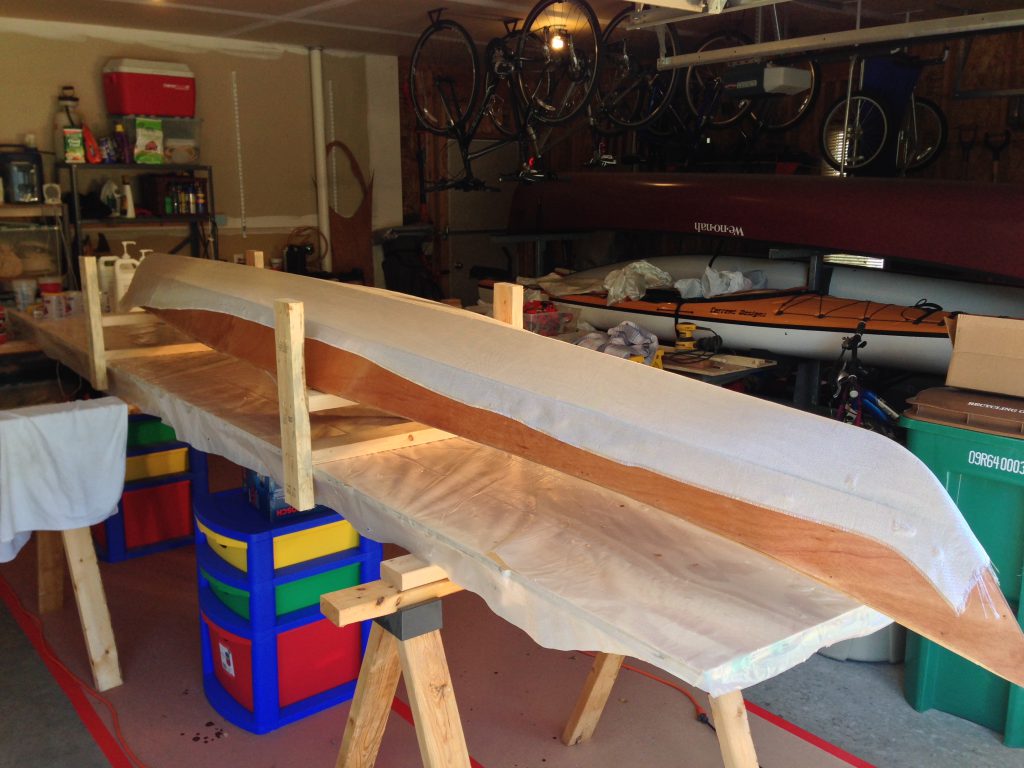
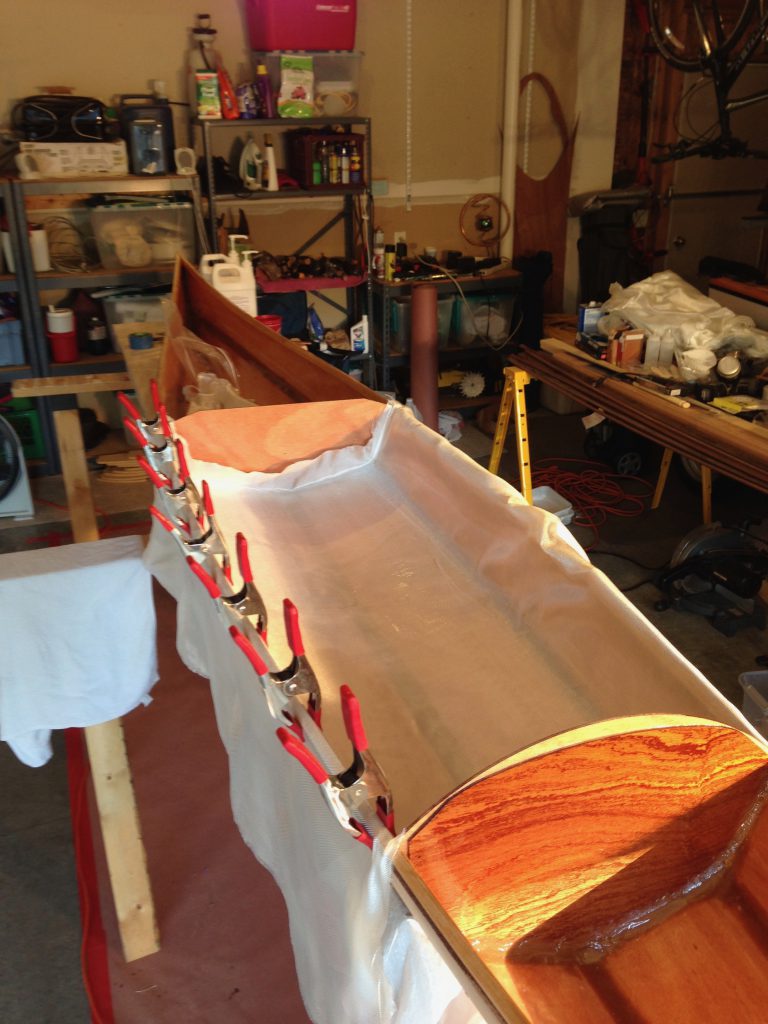
Prepping for Fiberglass. Next come sanding, lots of sanding. It’s critical to get things nice and smooth before proceeding.
Applying first layer of fiberglass
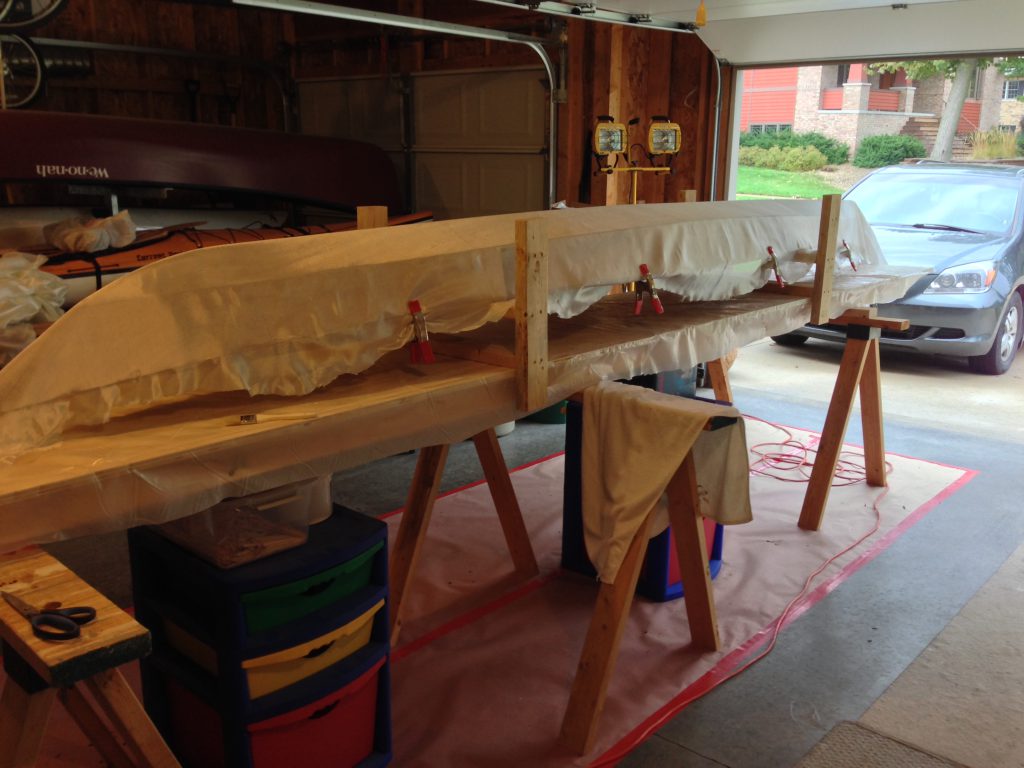
Wetting out the fiberglass with epoxy
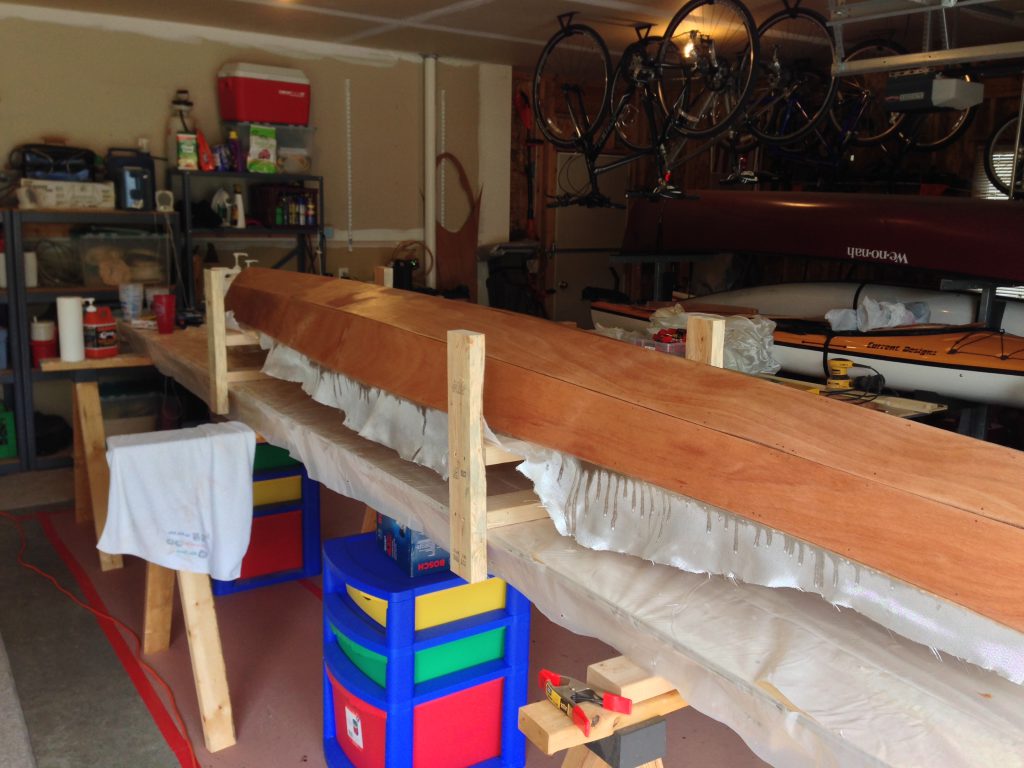
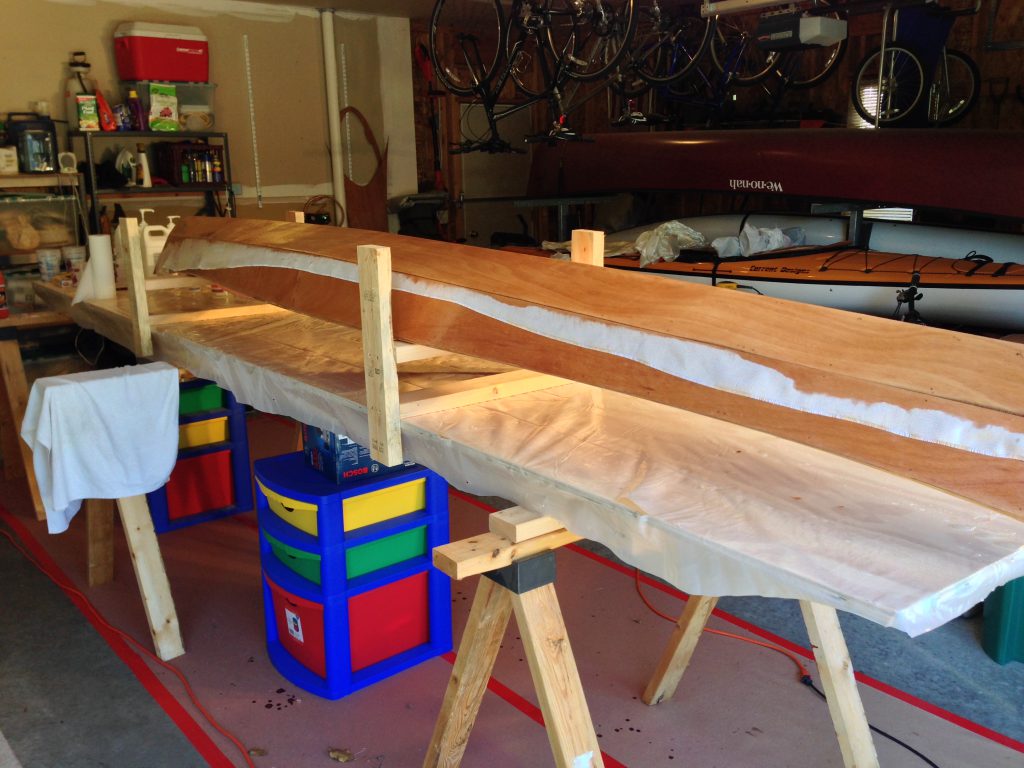
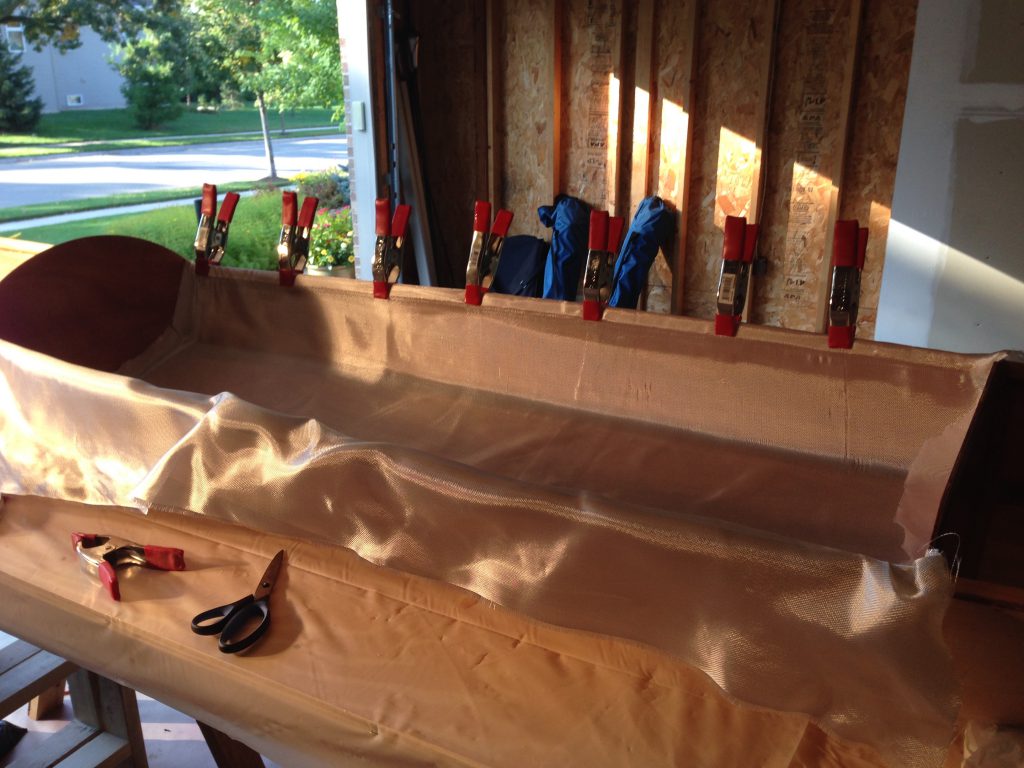
Applying second layer of fiberglass
Second coat of epoxy. This turned out to be tricky because I was unsure how to maintain a clean edge where the second layer of fiberglass meets the second.
Coating interior with epoxy
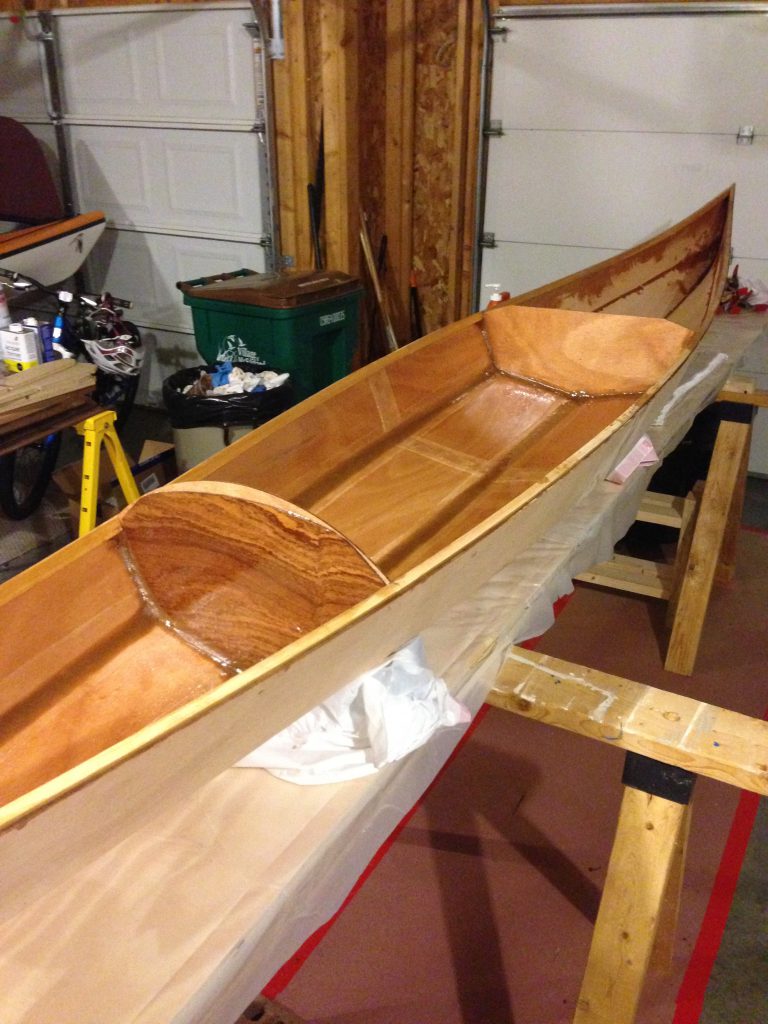
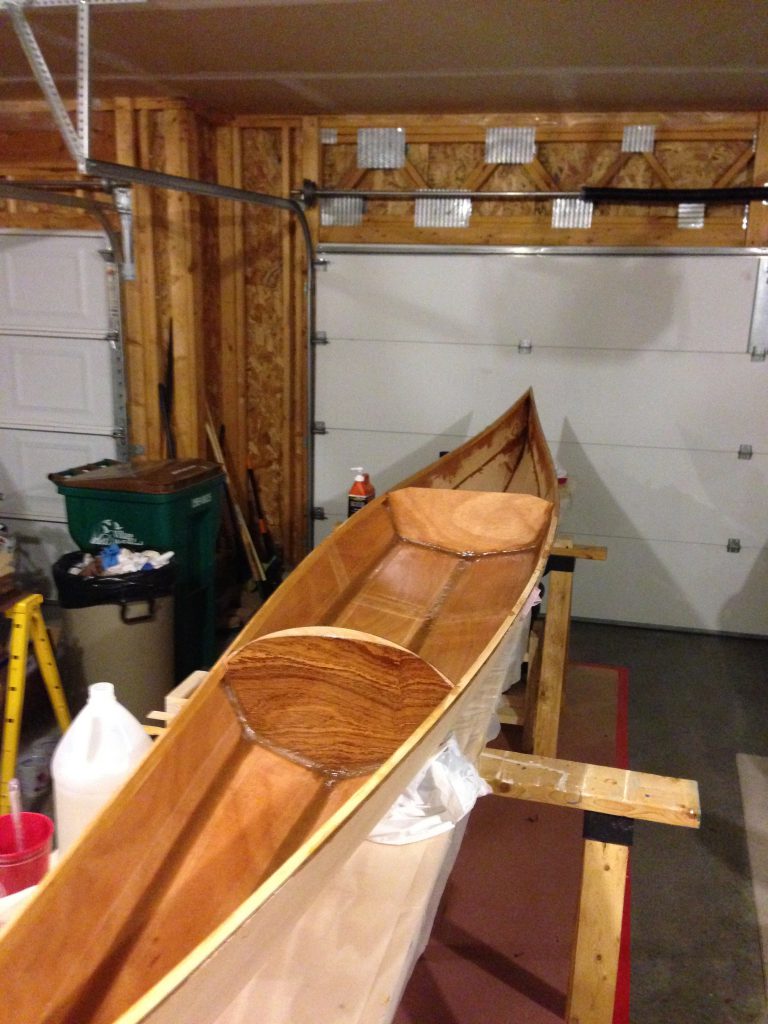
Adding fiberglass to interior. This adds extra strength for the area where the pilot sits.
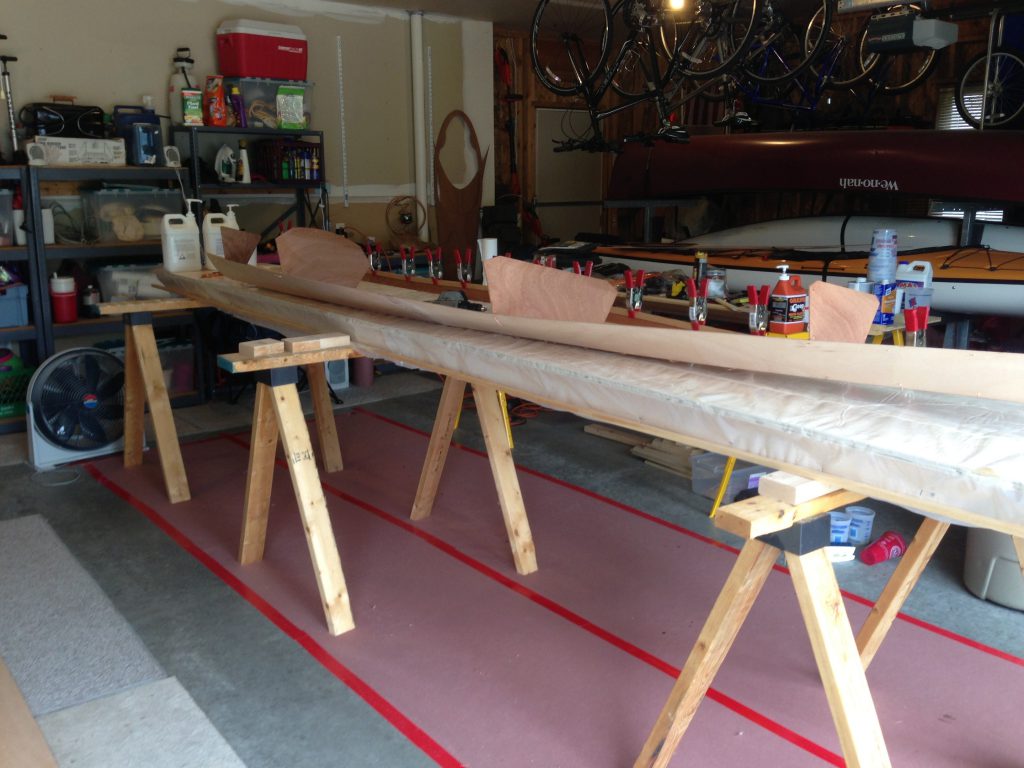
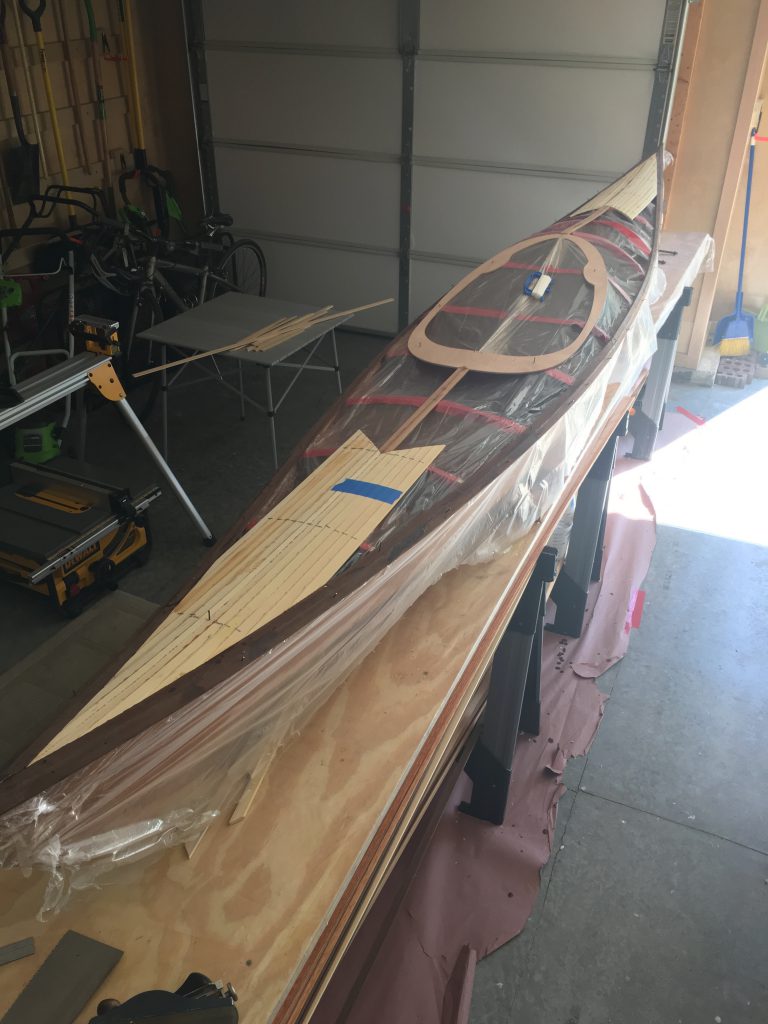
Setting up the deck forms
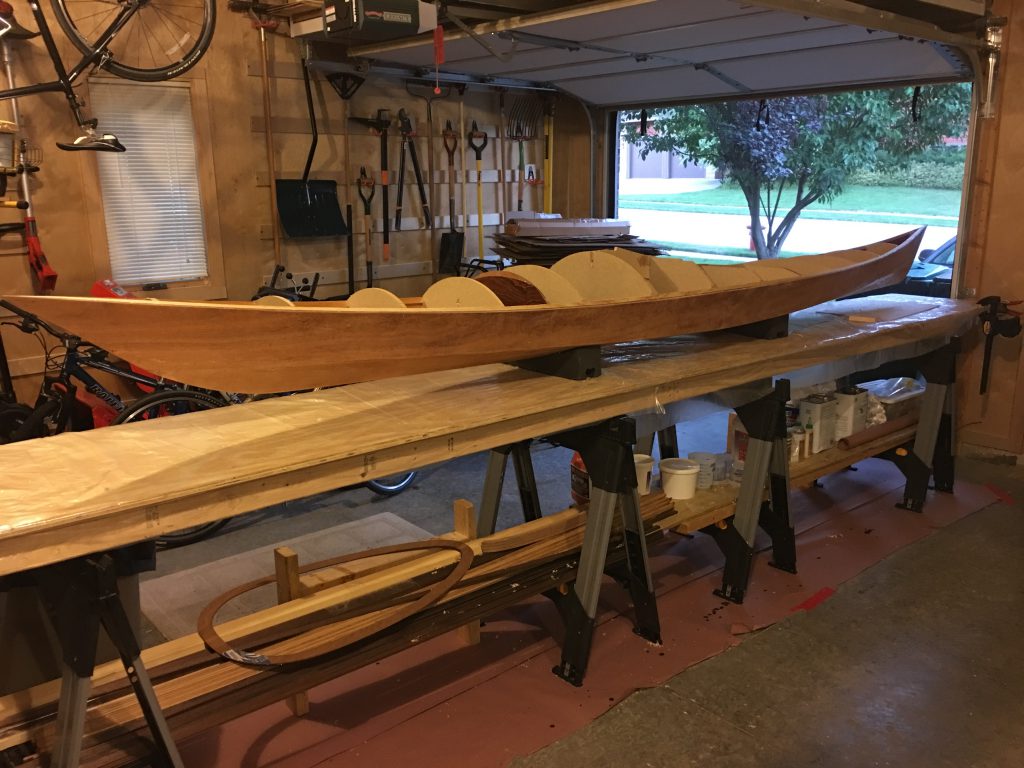
I applied a layer of plastic to hopefully cut down on the amount of glue that drips down into the interior.
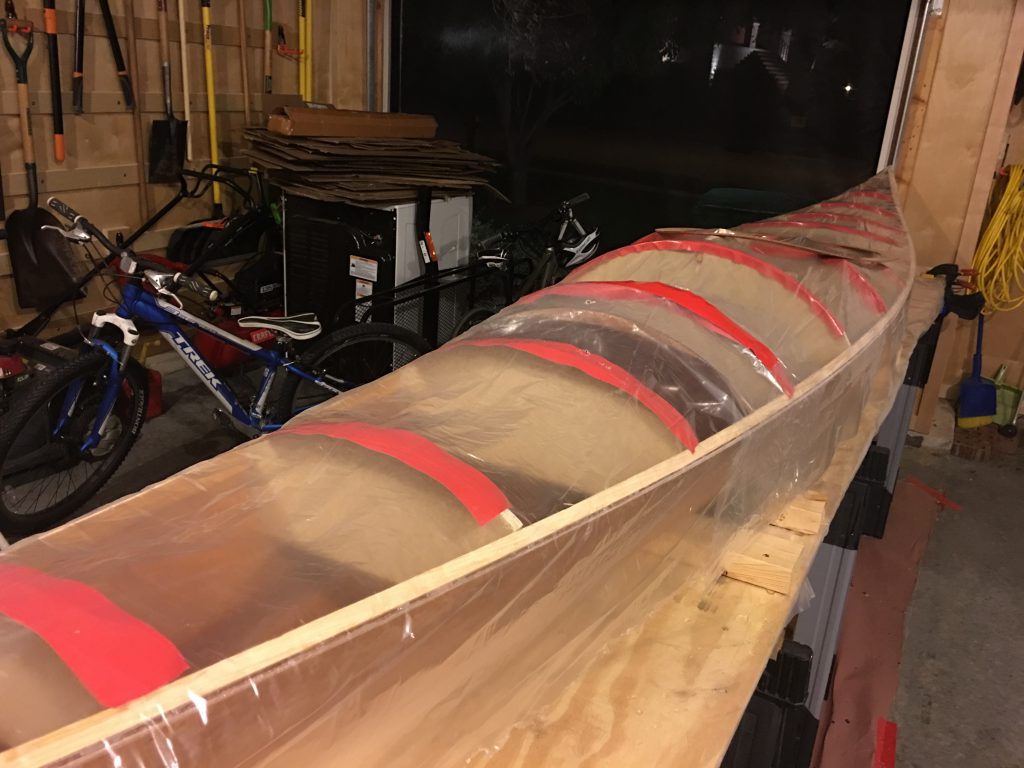
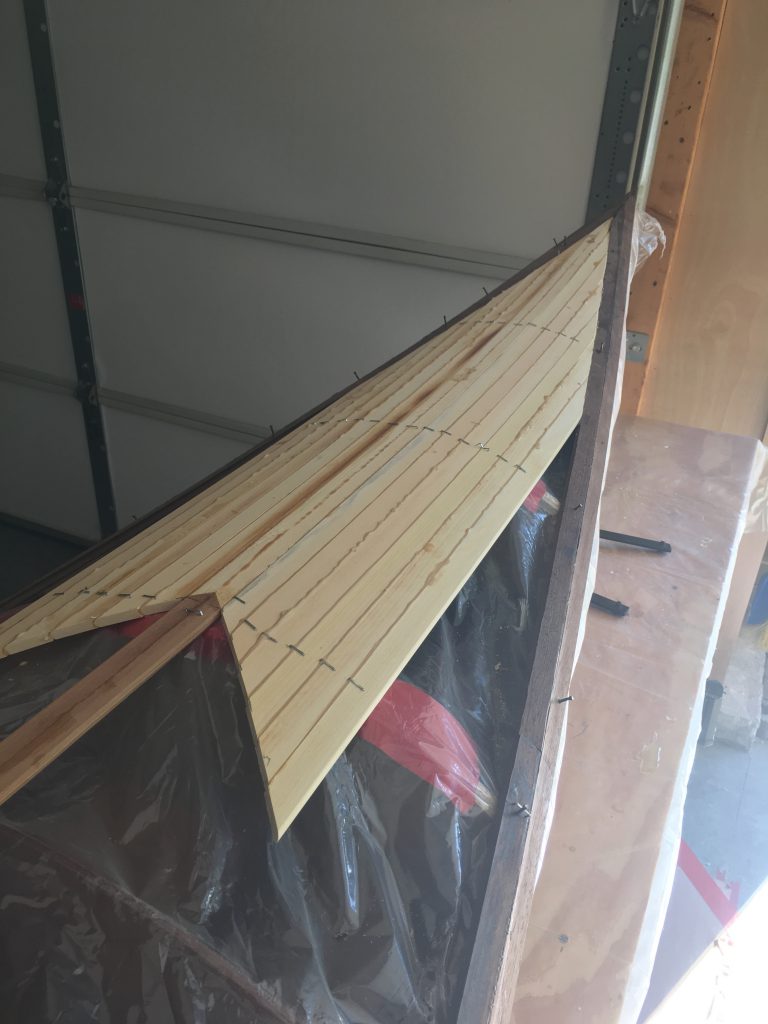
Ready for stripping. The deck is constructed from strips of contrasting cedar, walnut, and maple. The strips are stapled or nailed into place, and glued to adjacent strips.
Applying the strips. Starting those strips of walnut of the edges was difficult. While thin, getting the strips to conform to the curve took a lot of coaxing.
Stripping Continues. This is about as far as I got with stripping the deck. More work remains!