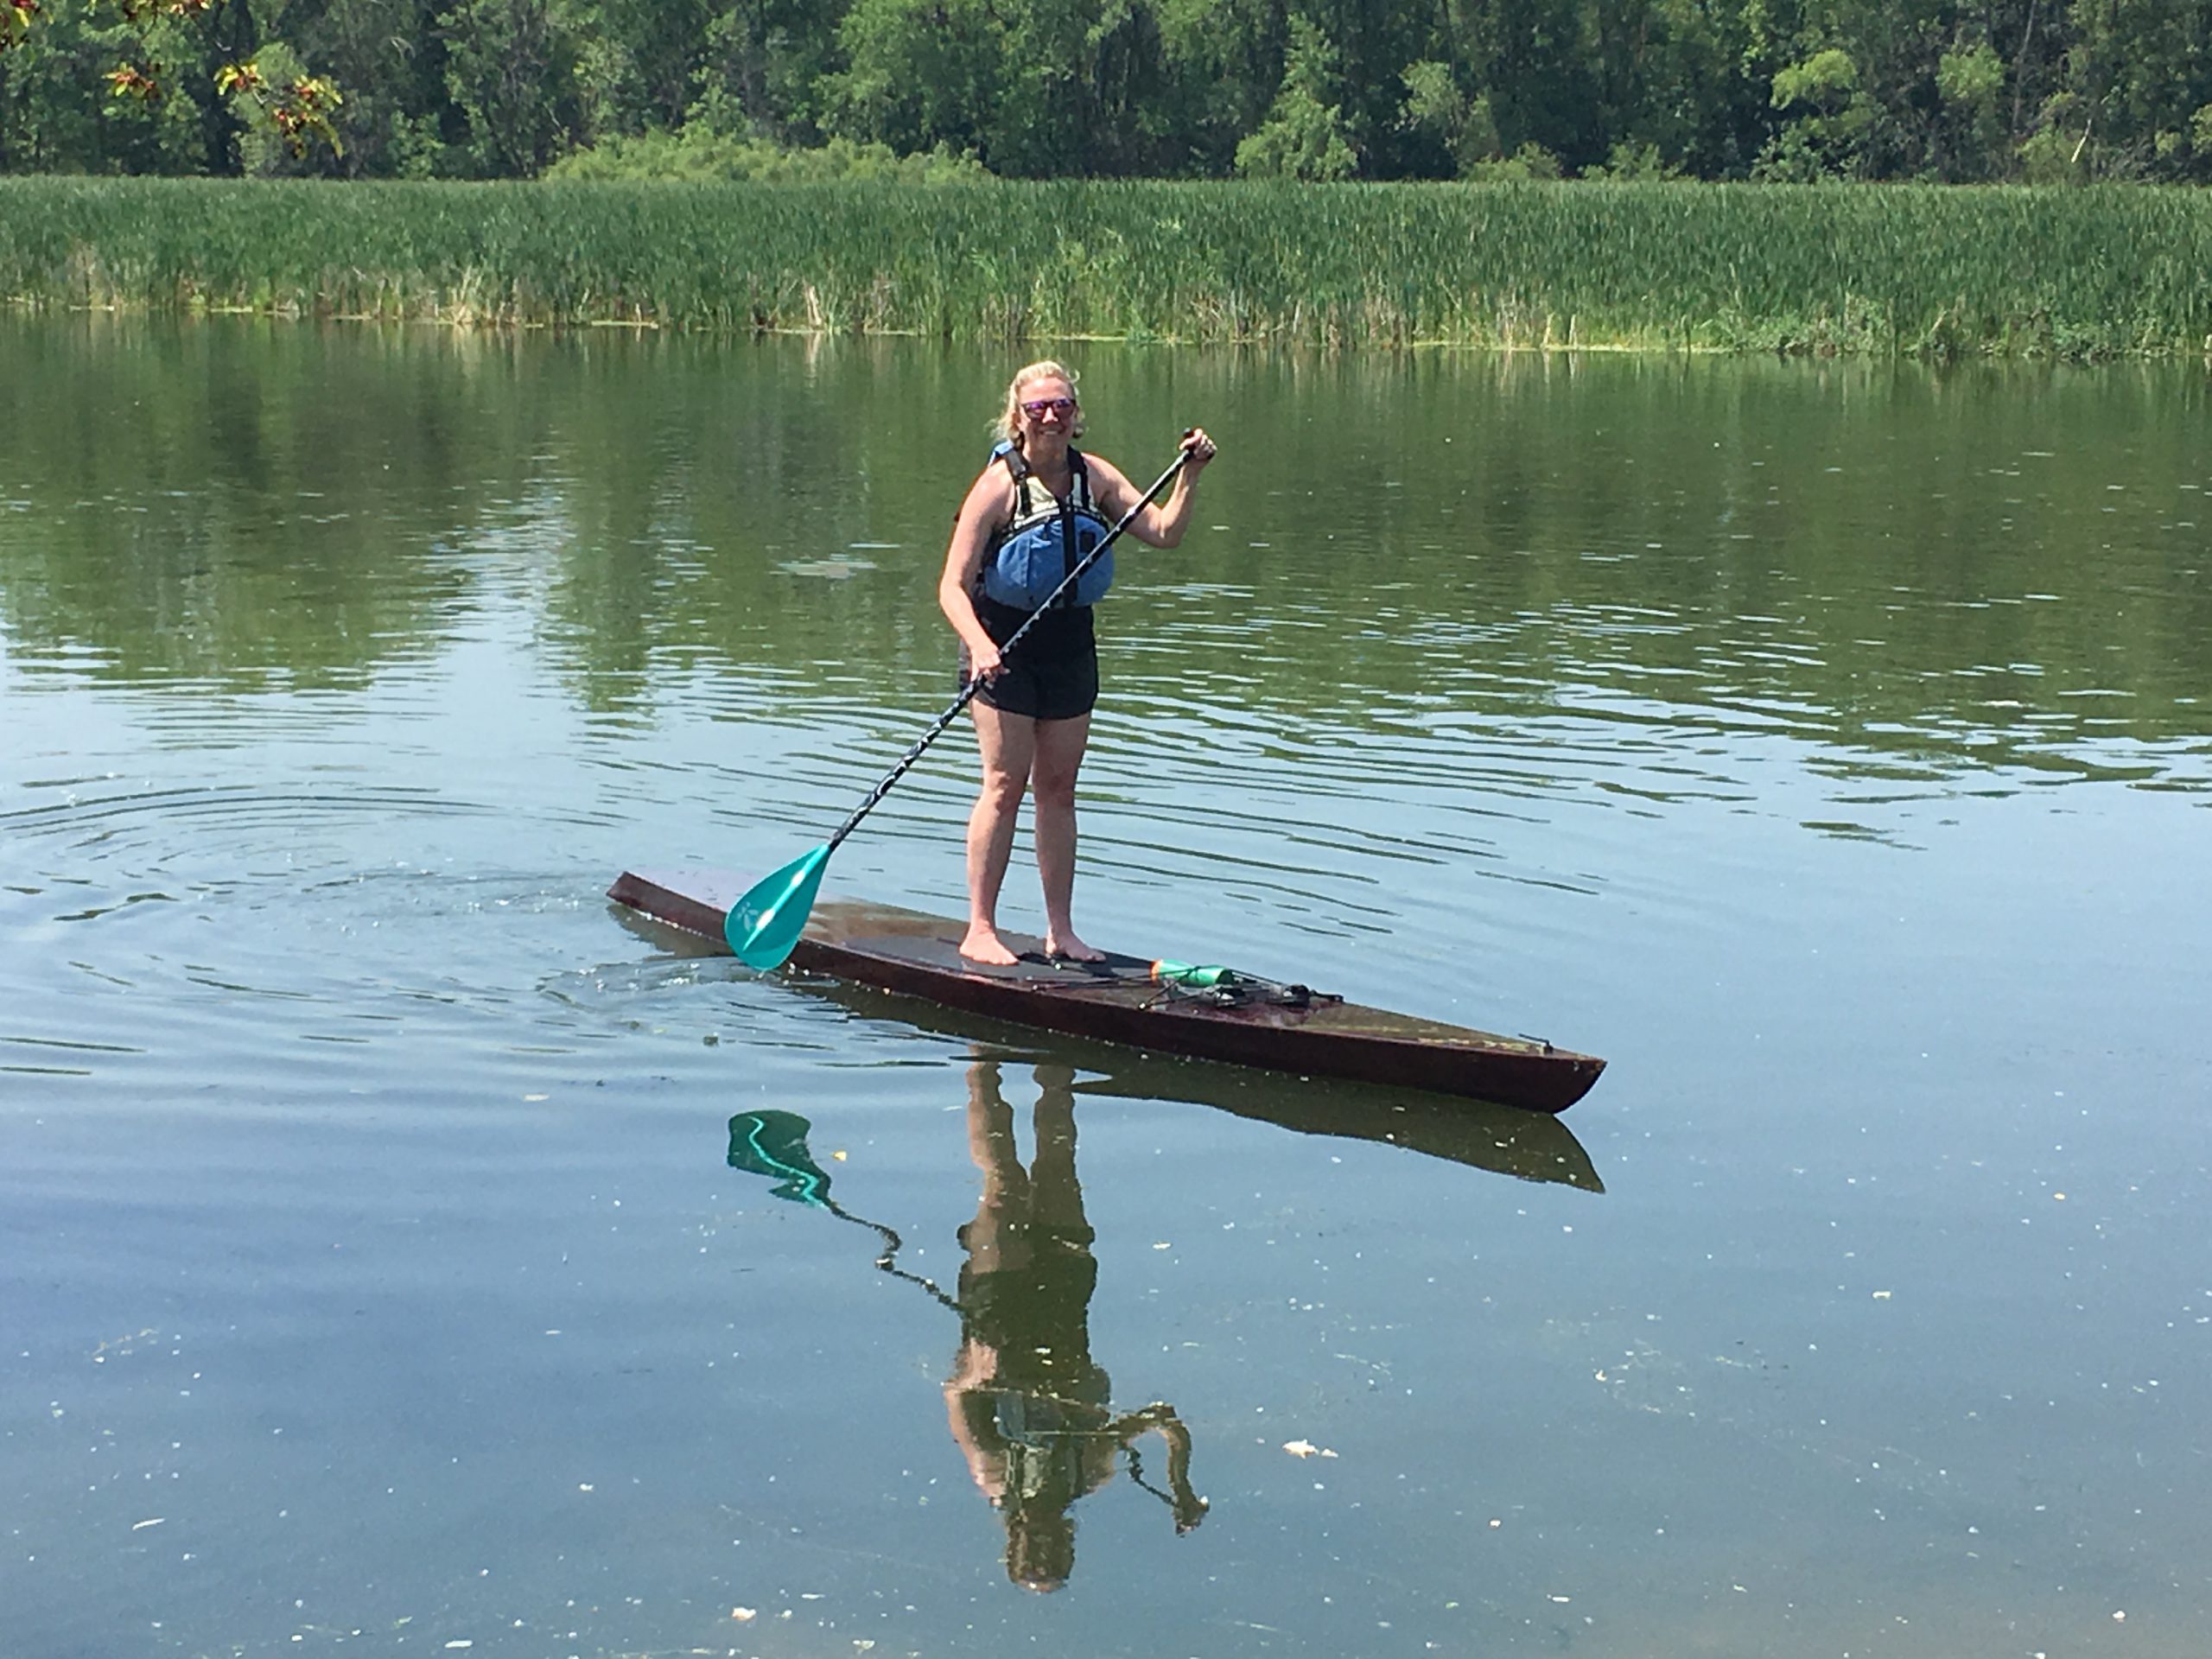
Kaholo Paddleboard Build
Natalie expressed interest in doing more paddleboarding after trying it on a family vacation. Do you think my arm had to be twisted into building one? Nope. Chesapeake Light Craft makes a very nice kit that is relatively easy to assemble. I didn’t document the process terribly well, but the gallery below shows a few highlights.
The board is constructed from thin sheets of marine-grade plywood. The CLC kit makes assembly super simple.
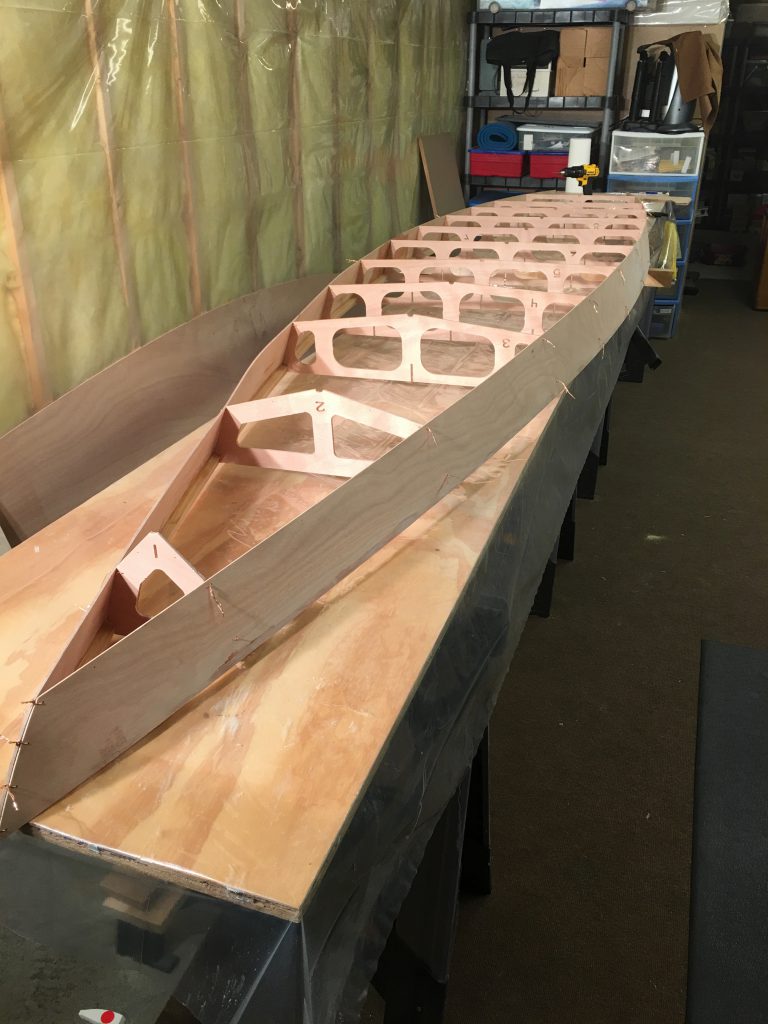
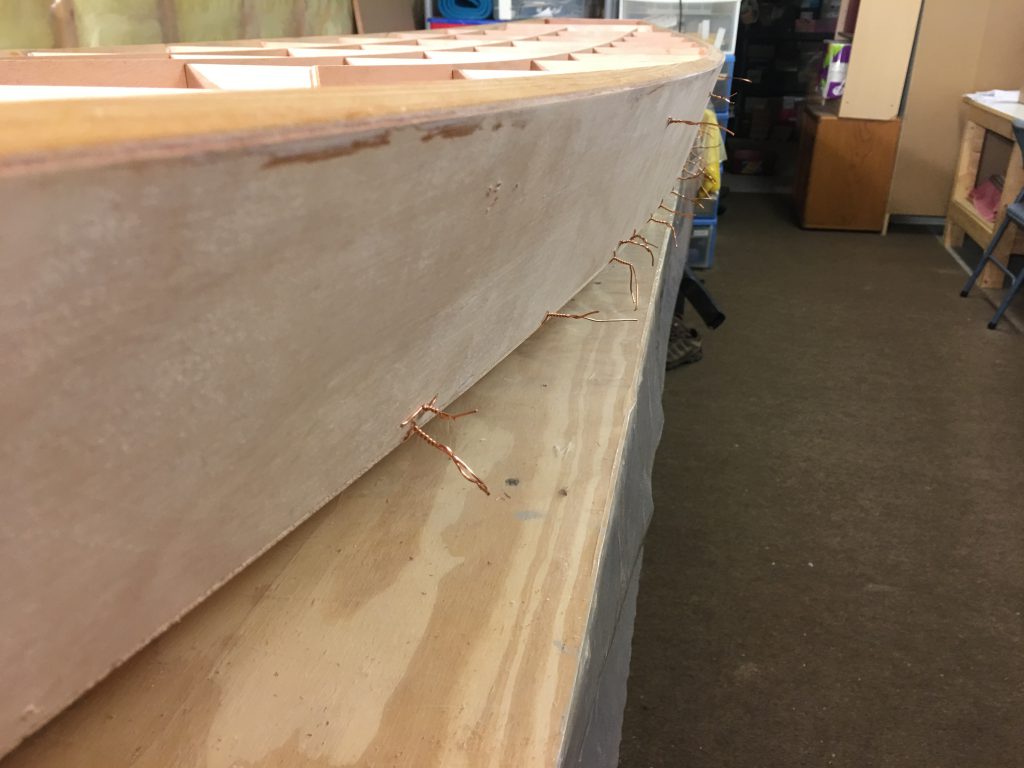
Getting all the sheets of plywood formed into shape takes a little bit of coaxing.
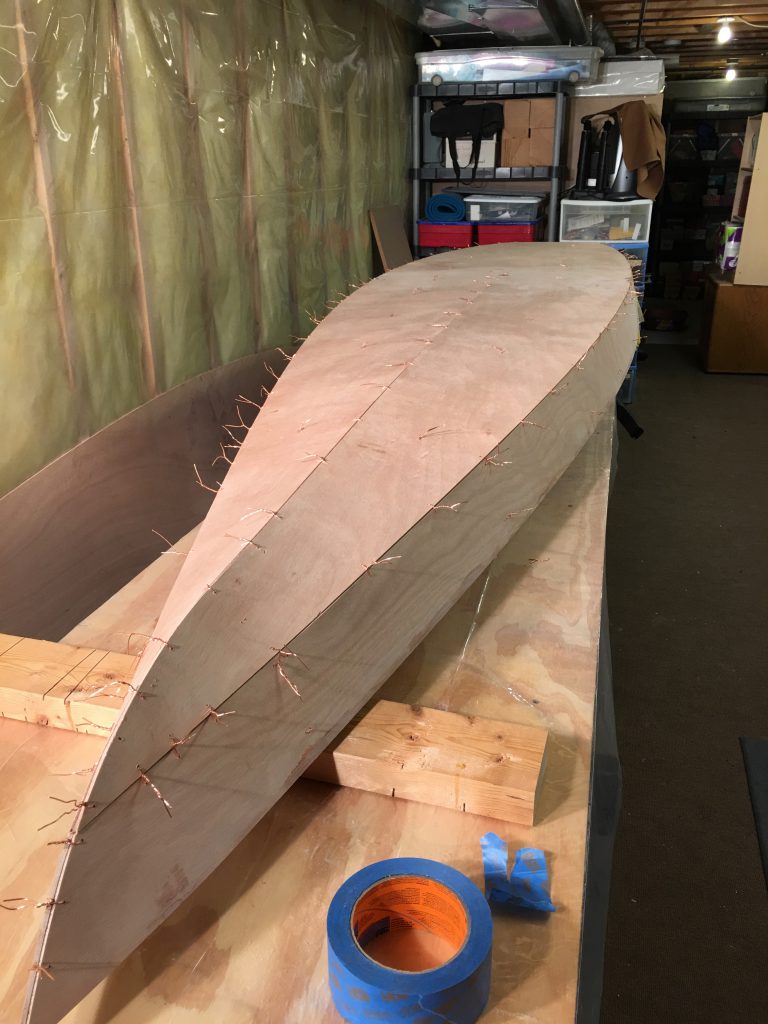
Everything is held together with copper wires during the initial assembly.
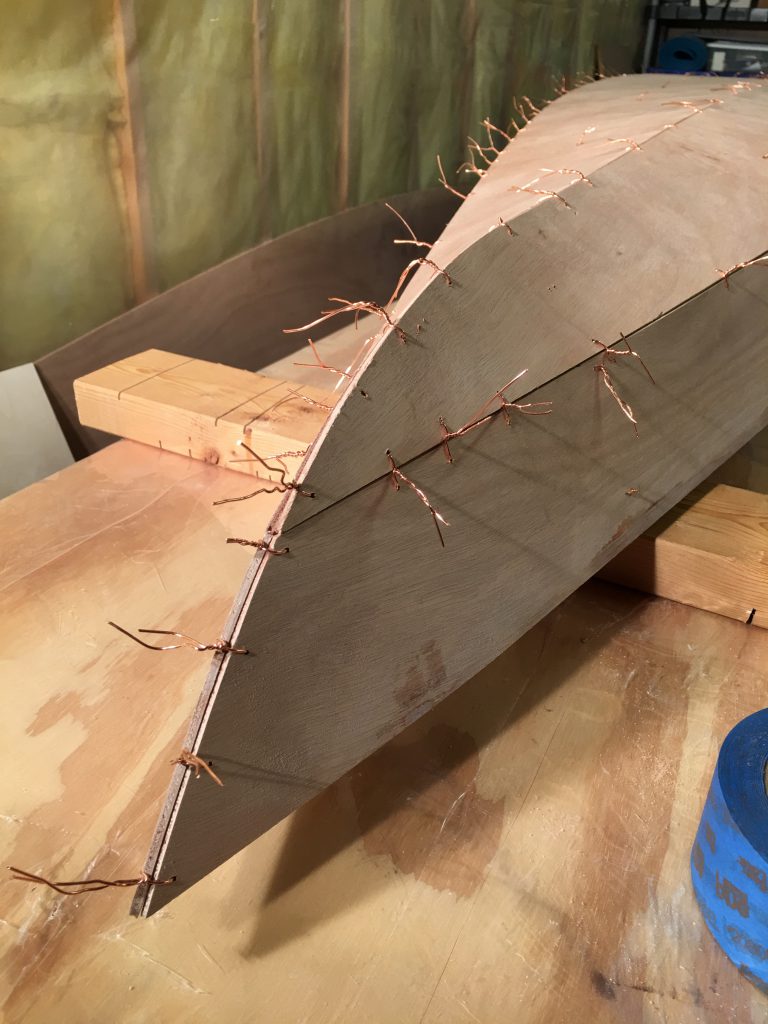
Things like to warp out of shape as you are working, so you have to make constant adjustments so that everything stays true.
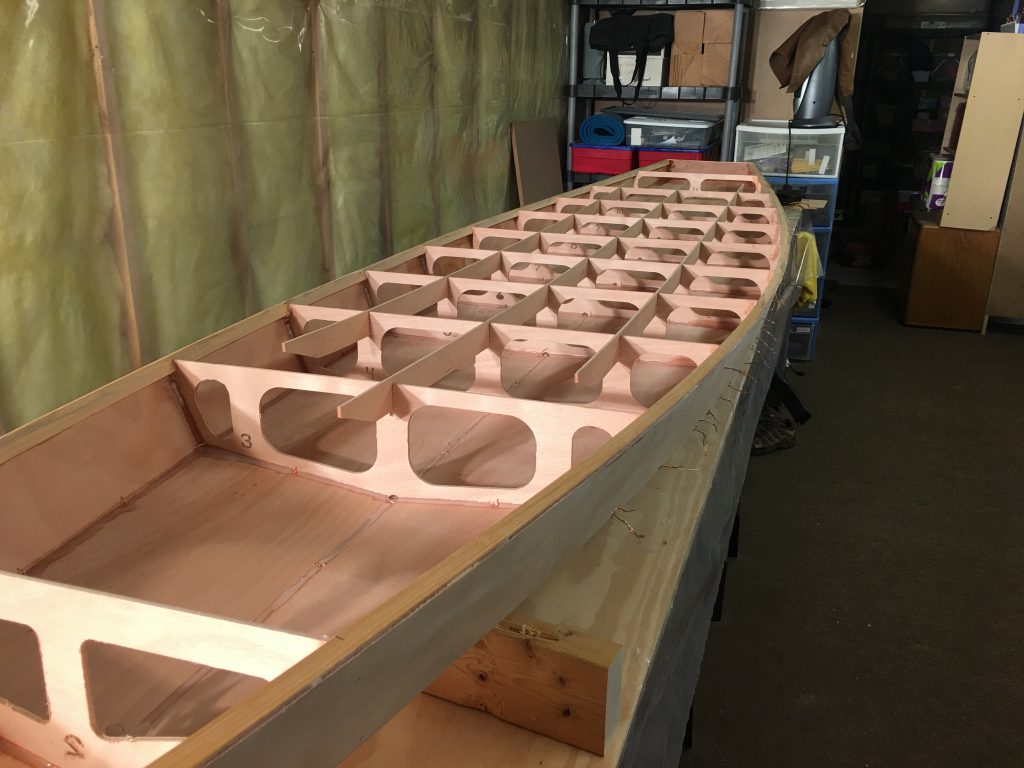
Everything is then tacked together with thin beads of epoxy, then the wires are removed.

Ready for top deck.
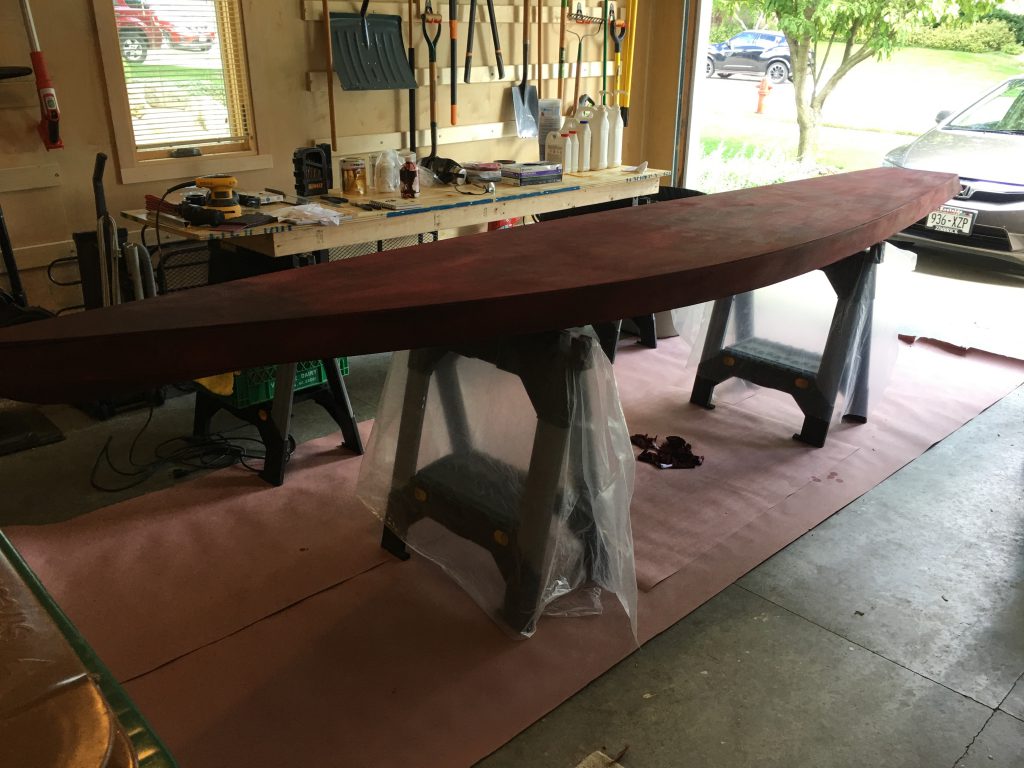
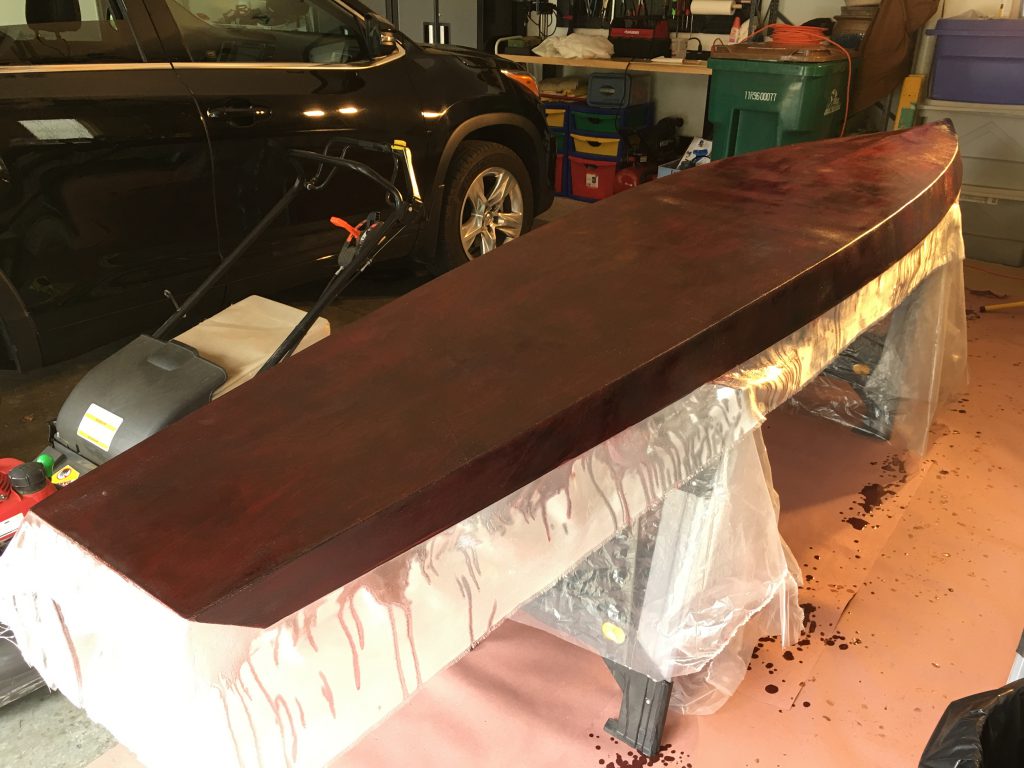
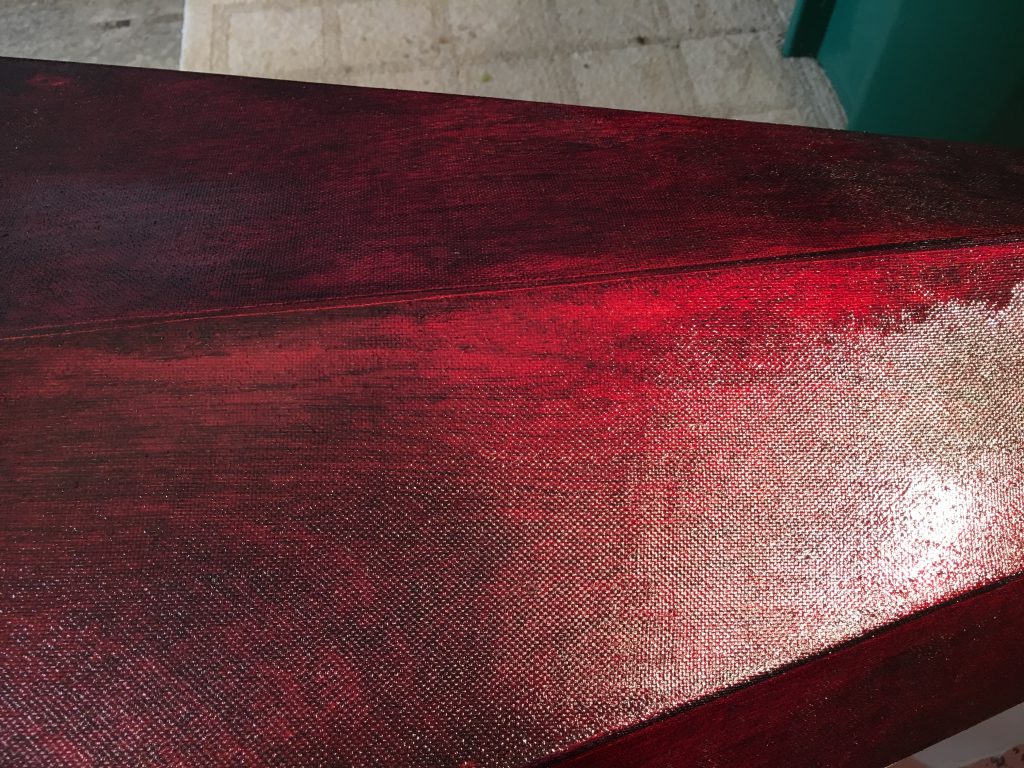
Most folks use a decorative fabric embedded in epoxy on their Kaholo’s. I did some experimentation with that, and predicted disaster… just too hard for me to get the fabric looking good. So I opted to stain the entire board with a dye-based stain.
Next step is to drape fiberglass cloth on the board, and soak it with epoxy.
Closer look at the first layer of fiberglass and epoxy.
Then starts the process of layering on more coats of epoxy. I hard a particularly hard time with additional layers; the epoxy kept beading up like water on a waxed surface.
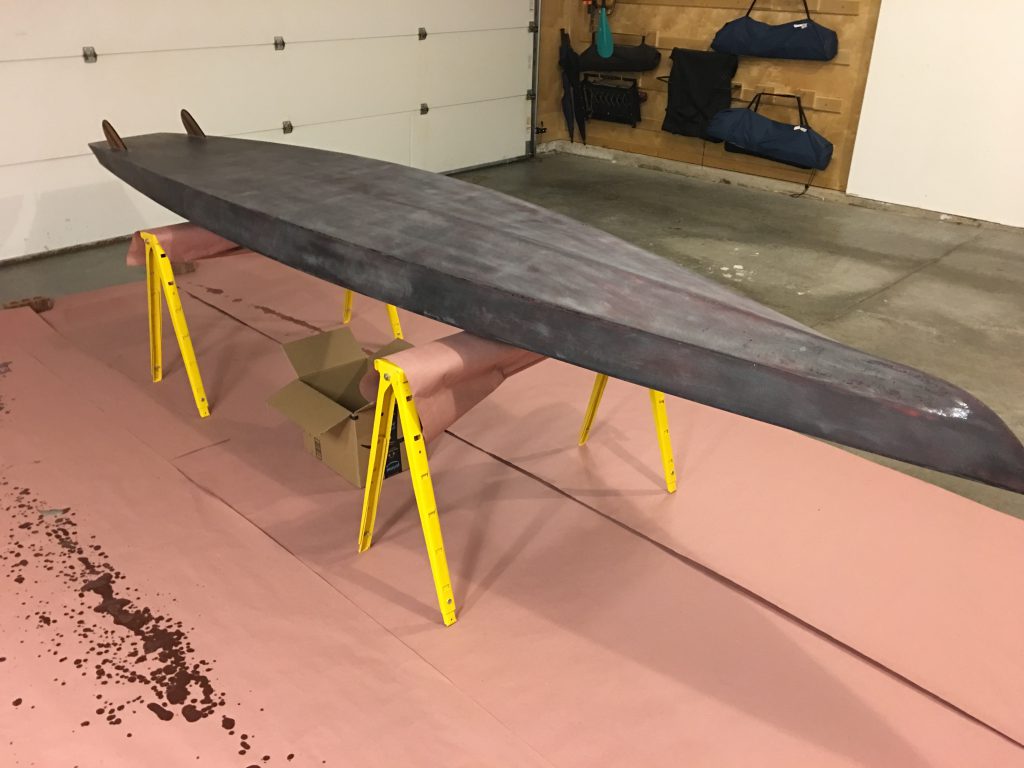
Despite the epoxy problems, I soldiered on. After each coat, the board gets a thorough sanding.
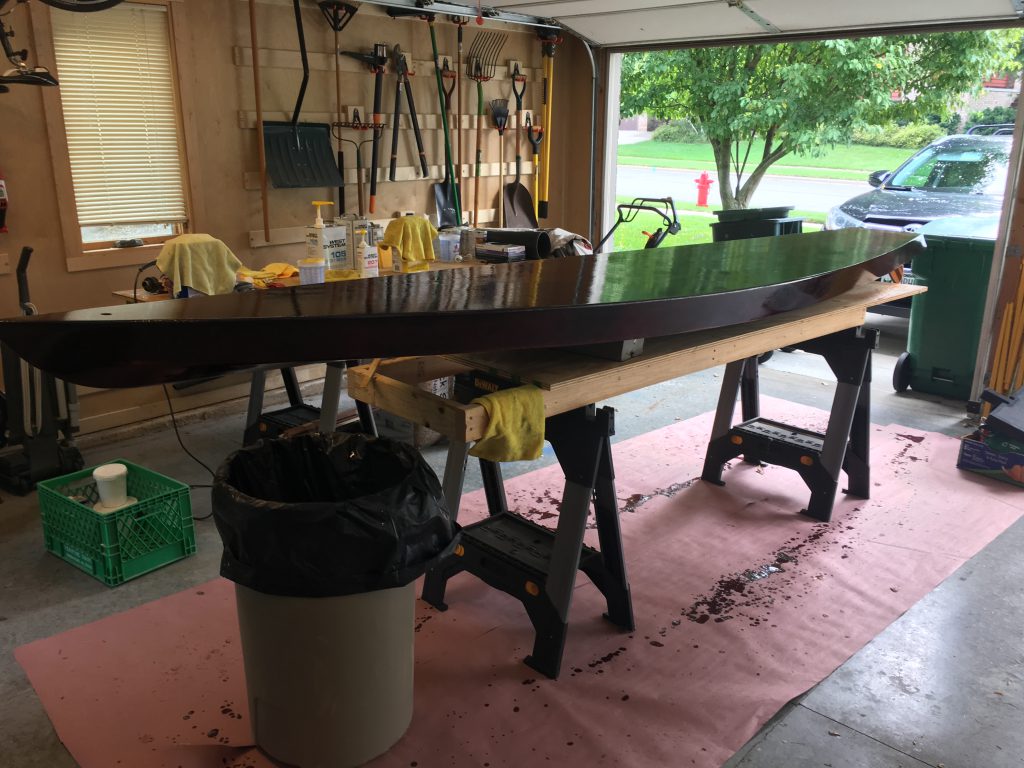
Epoxy is done, and starting to spray varnish.
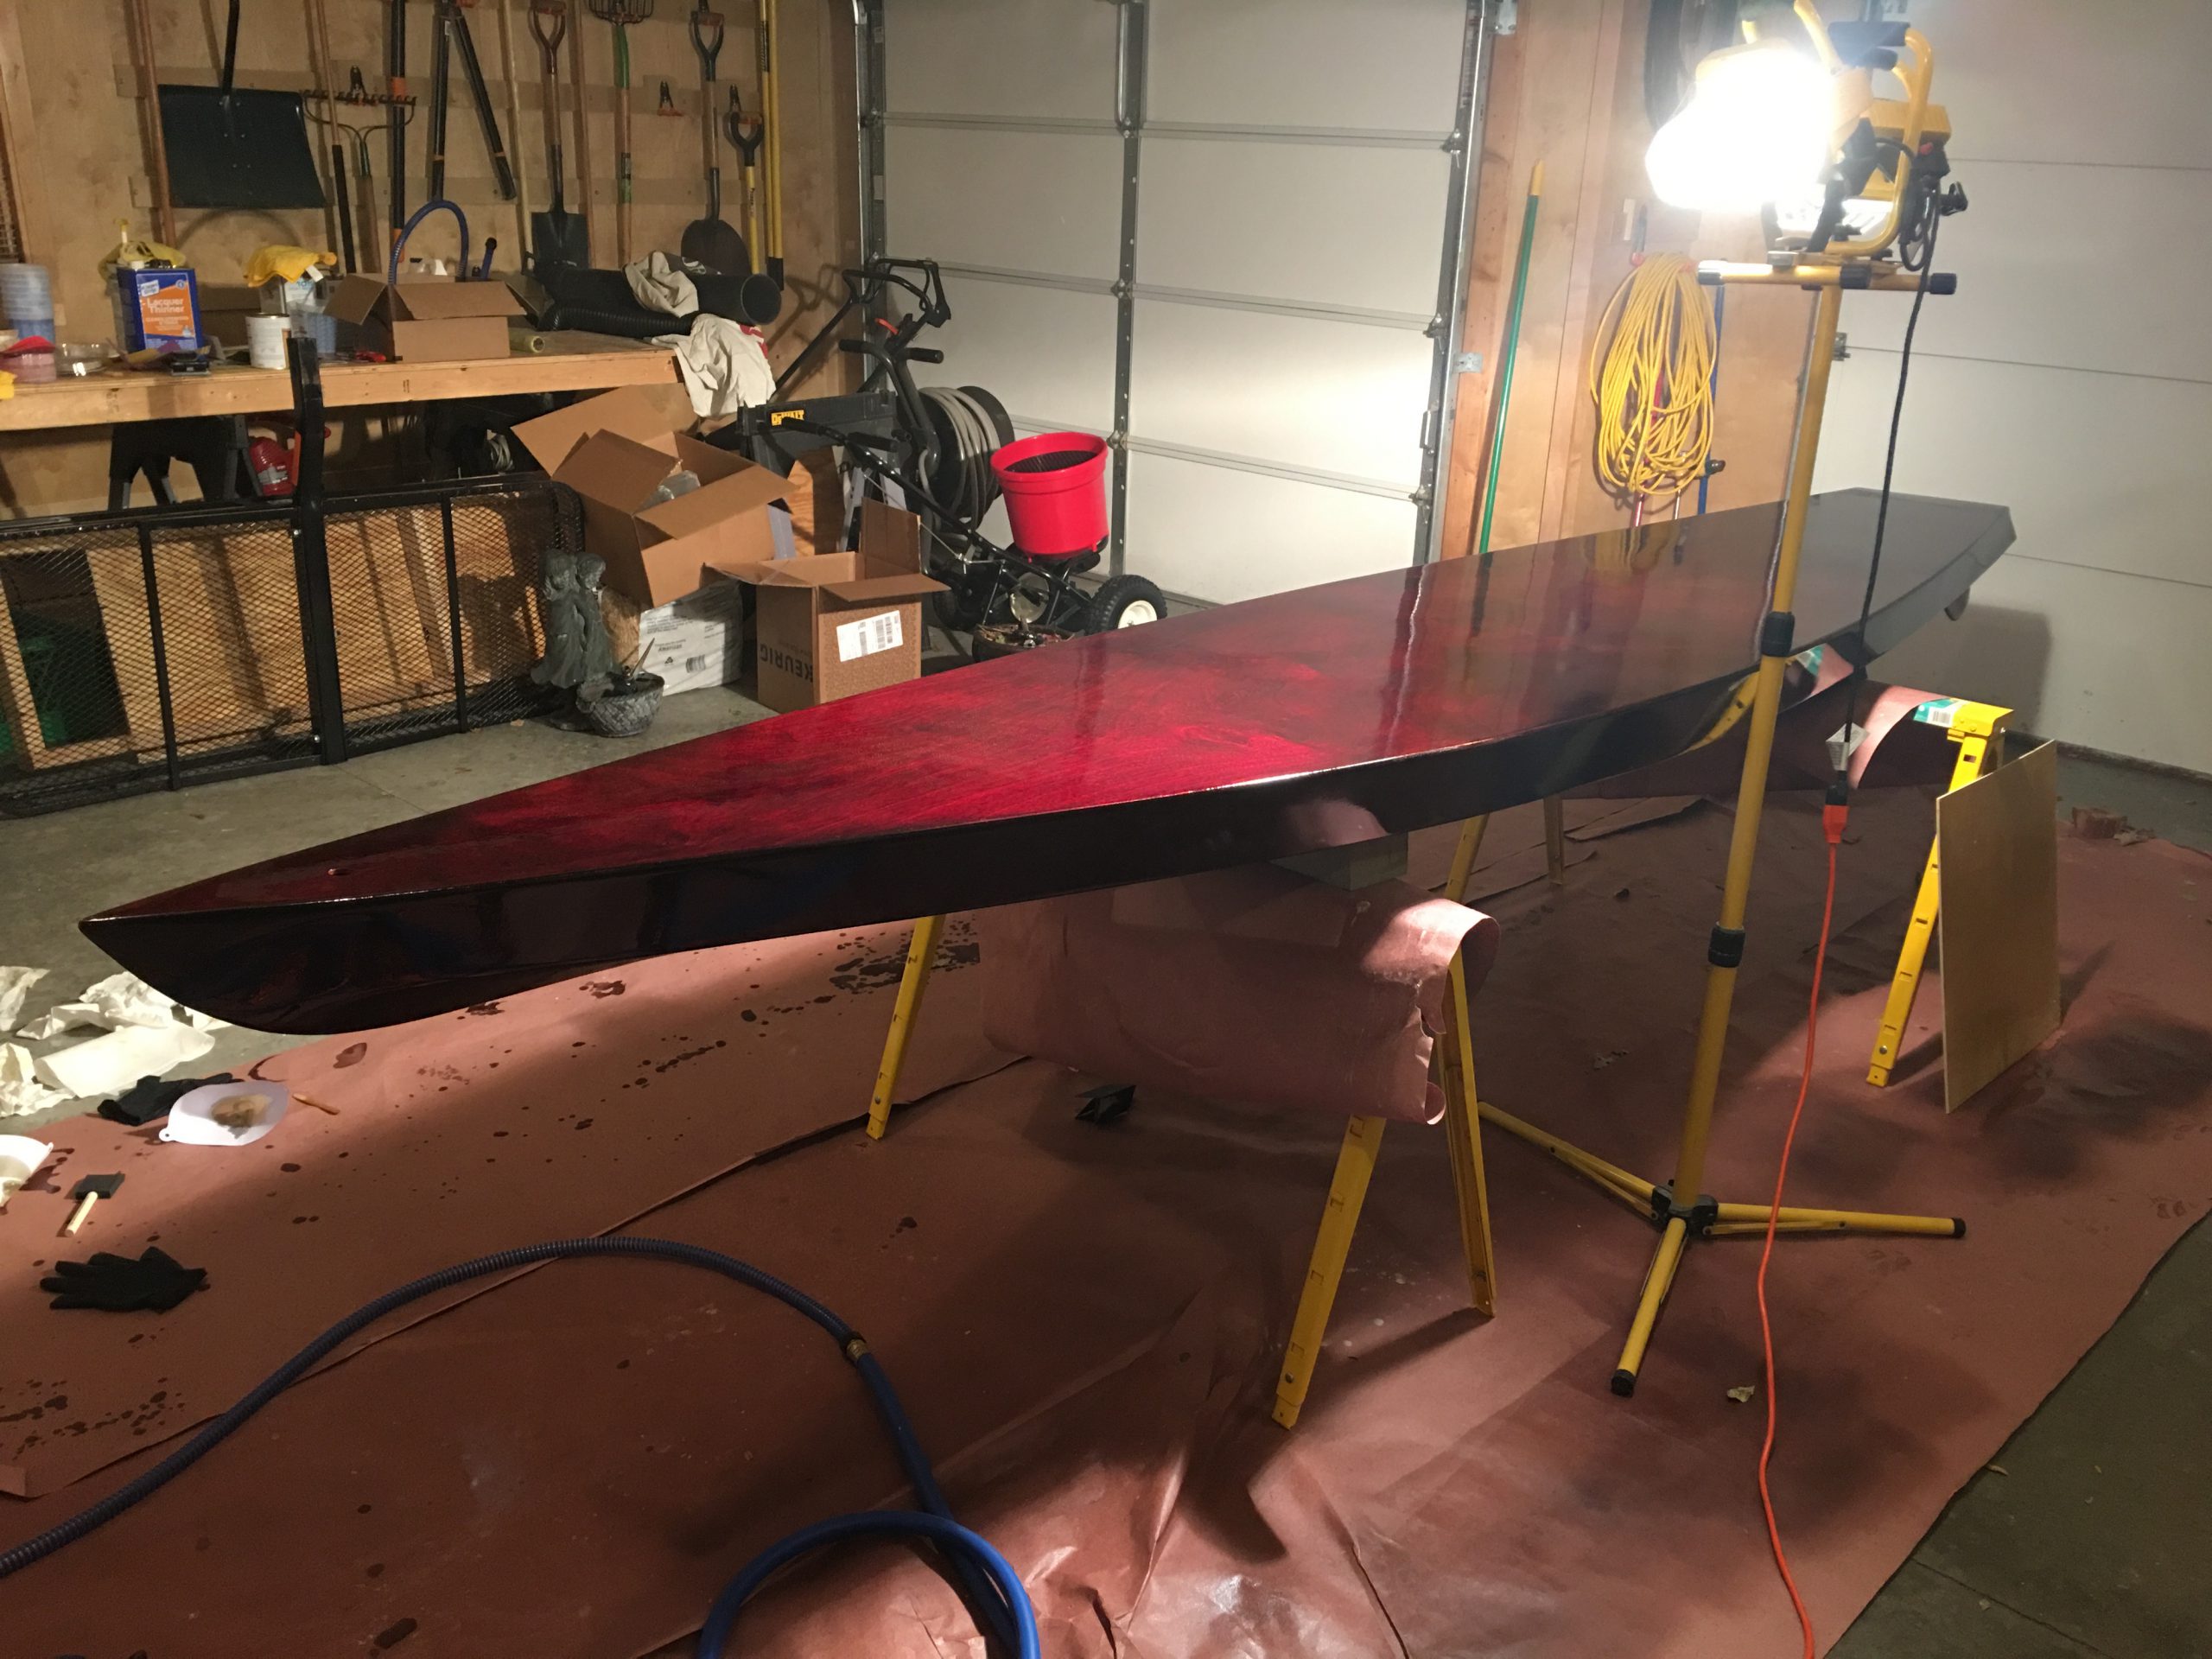
After layers of epoxy, the board was sprayed with 4 layers of marine varnish for protection.
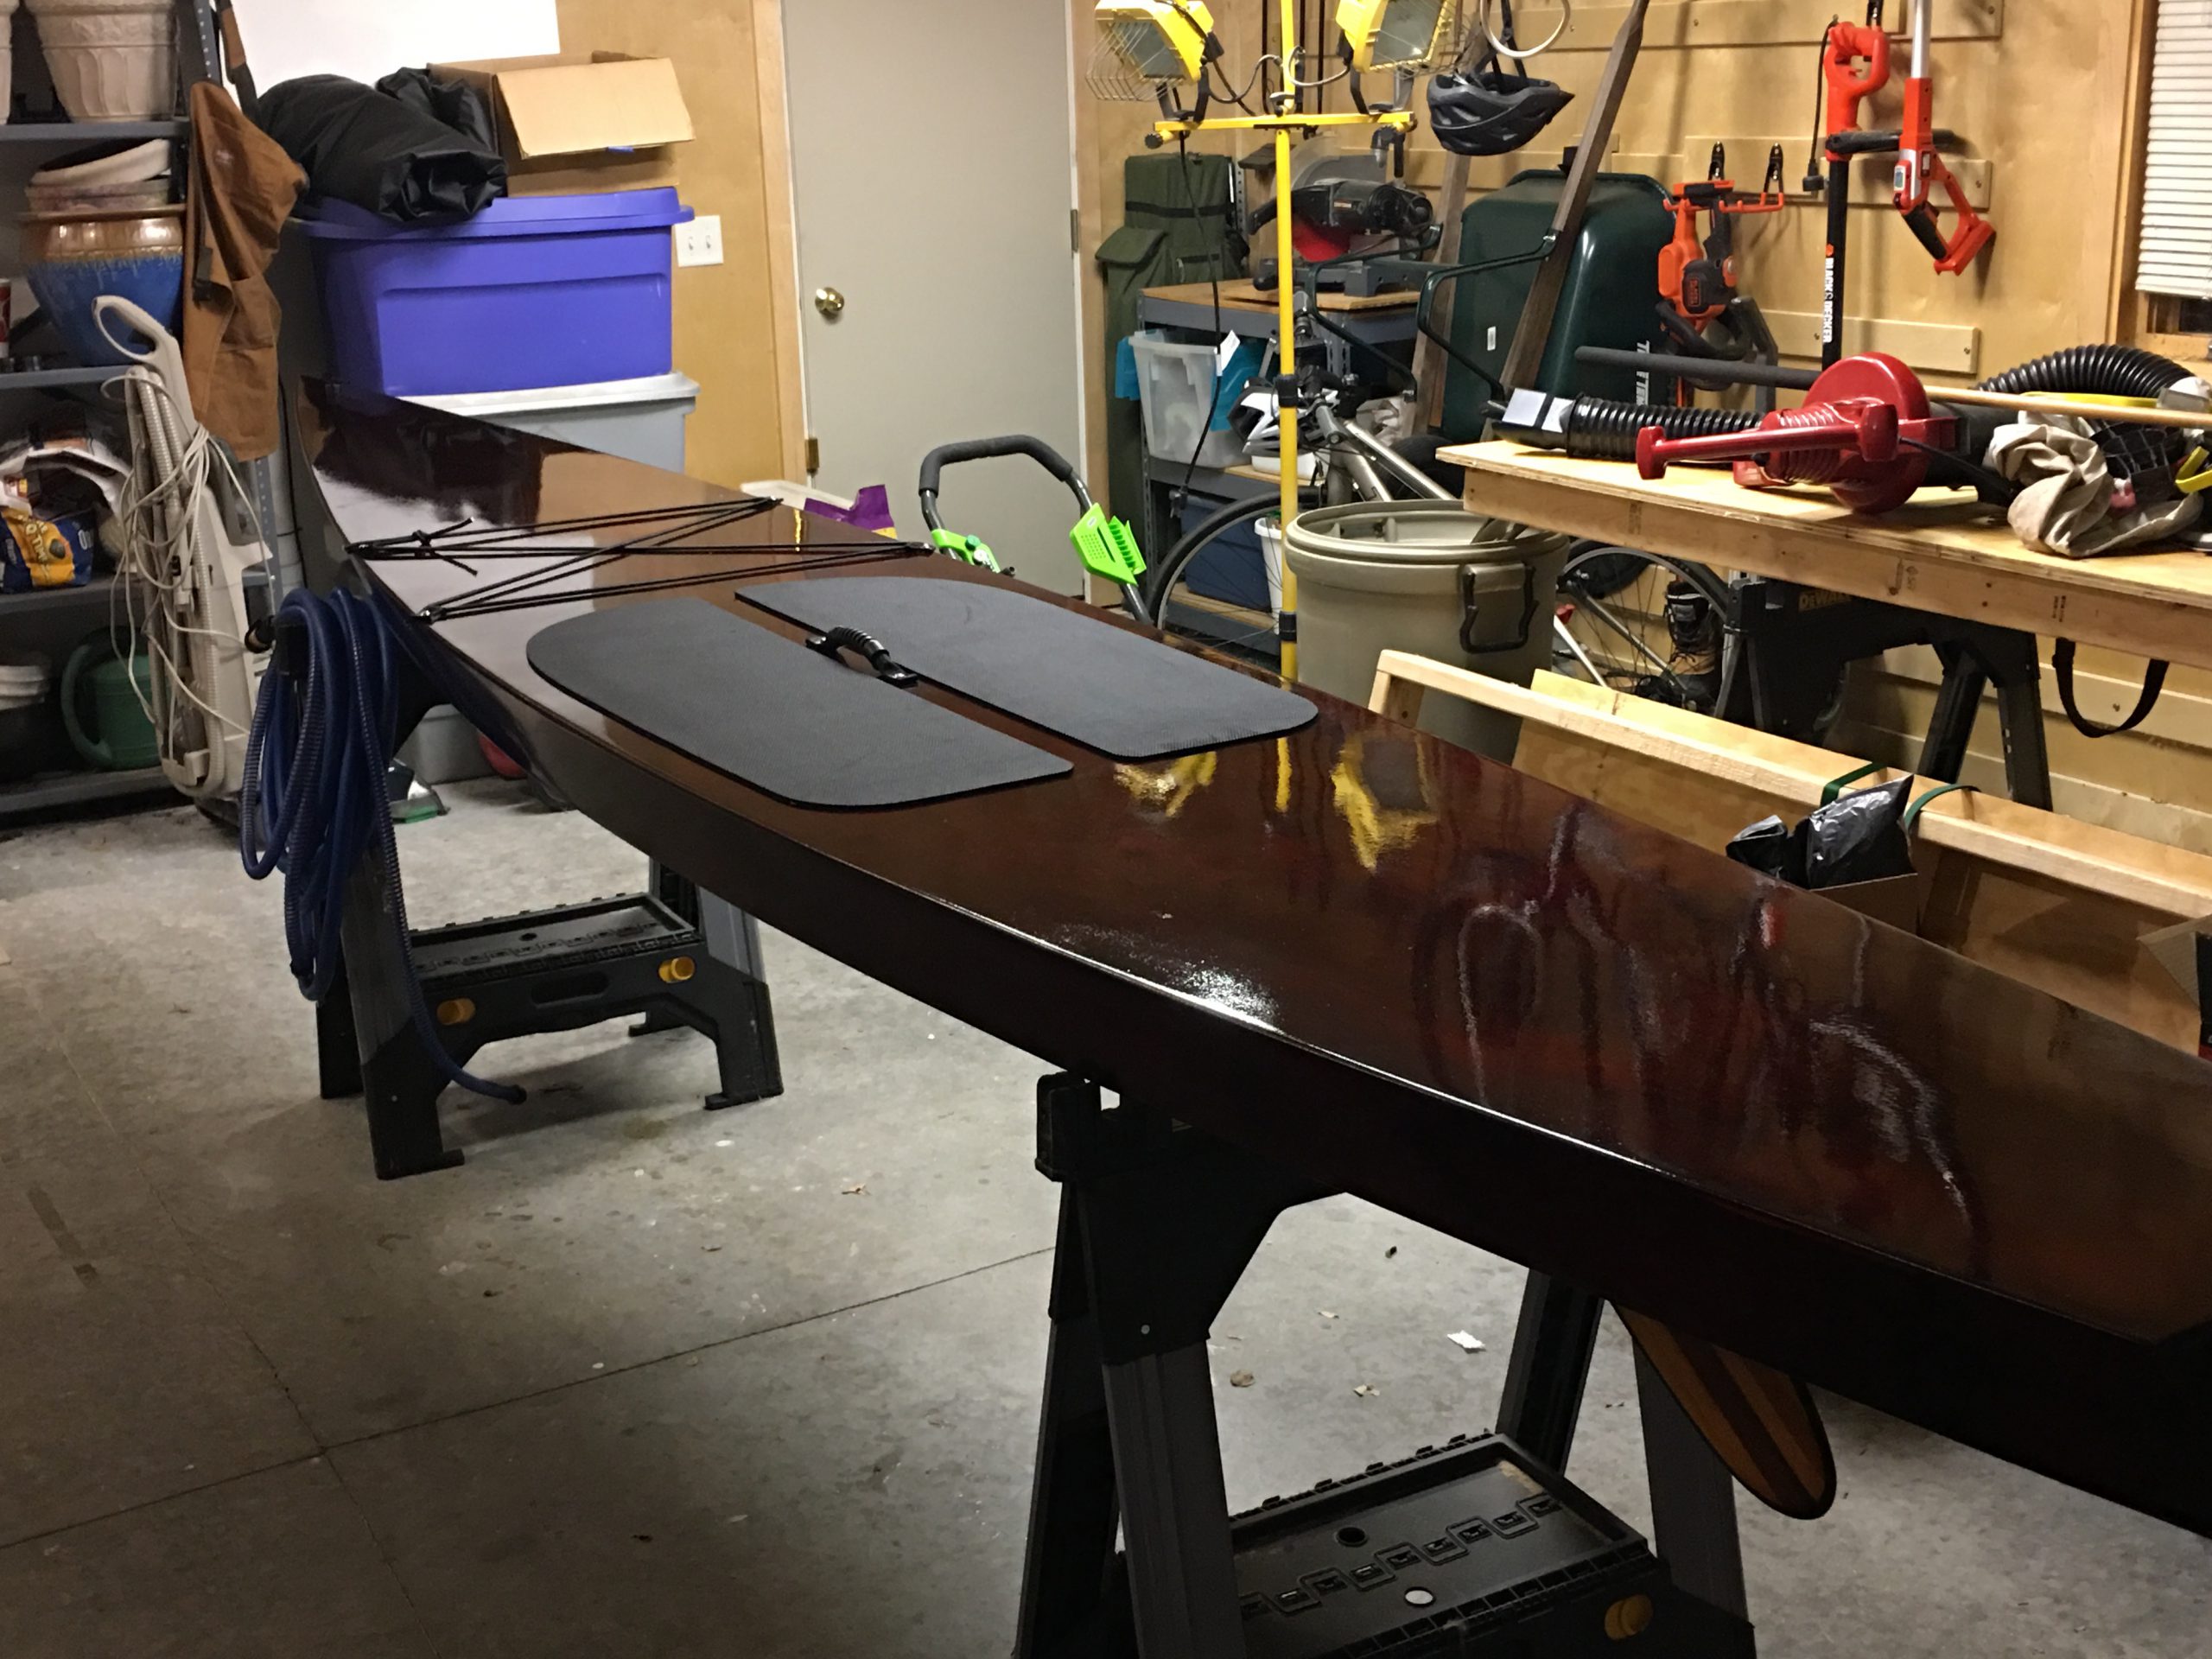
Deck pads and rigging added.
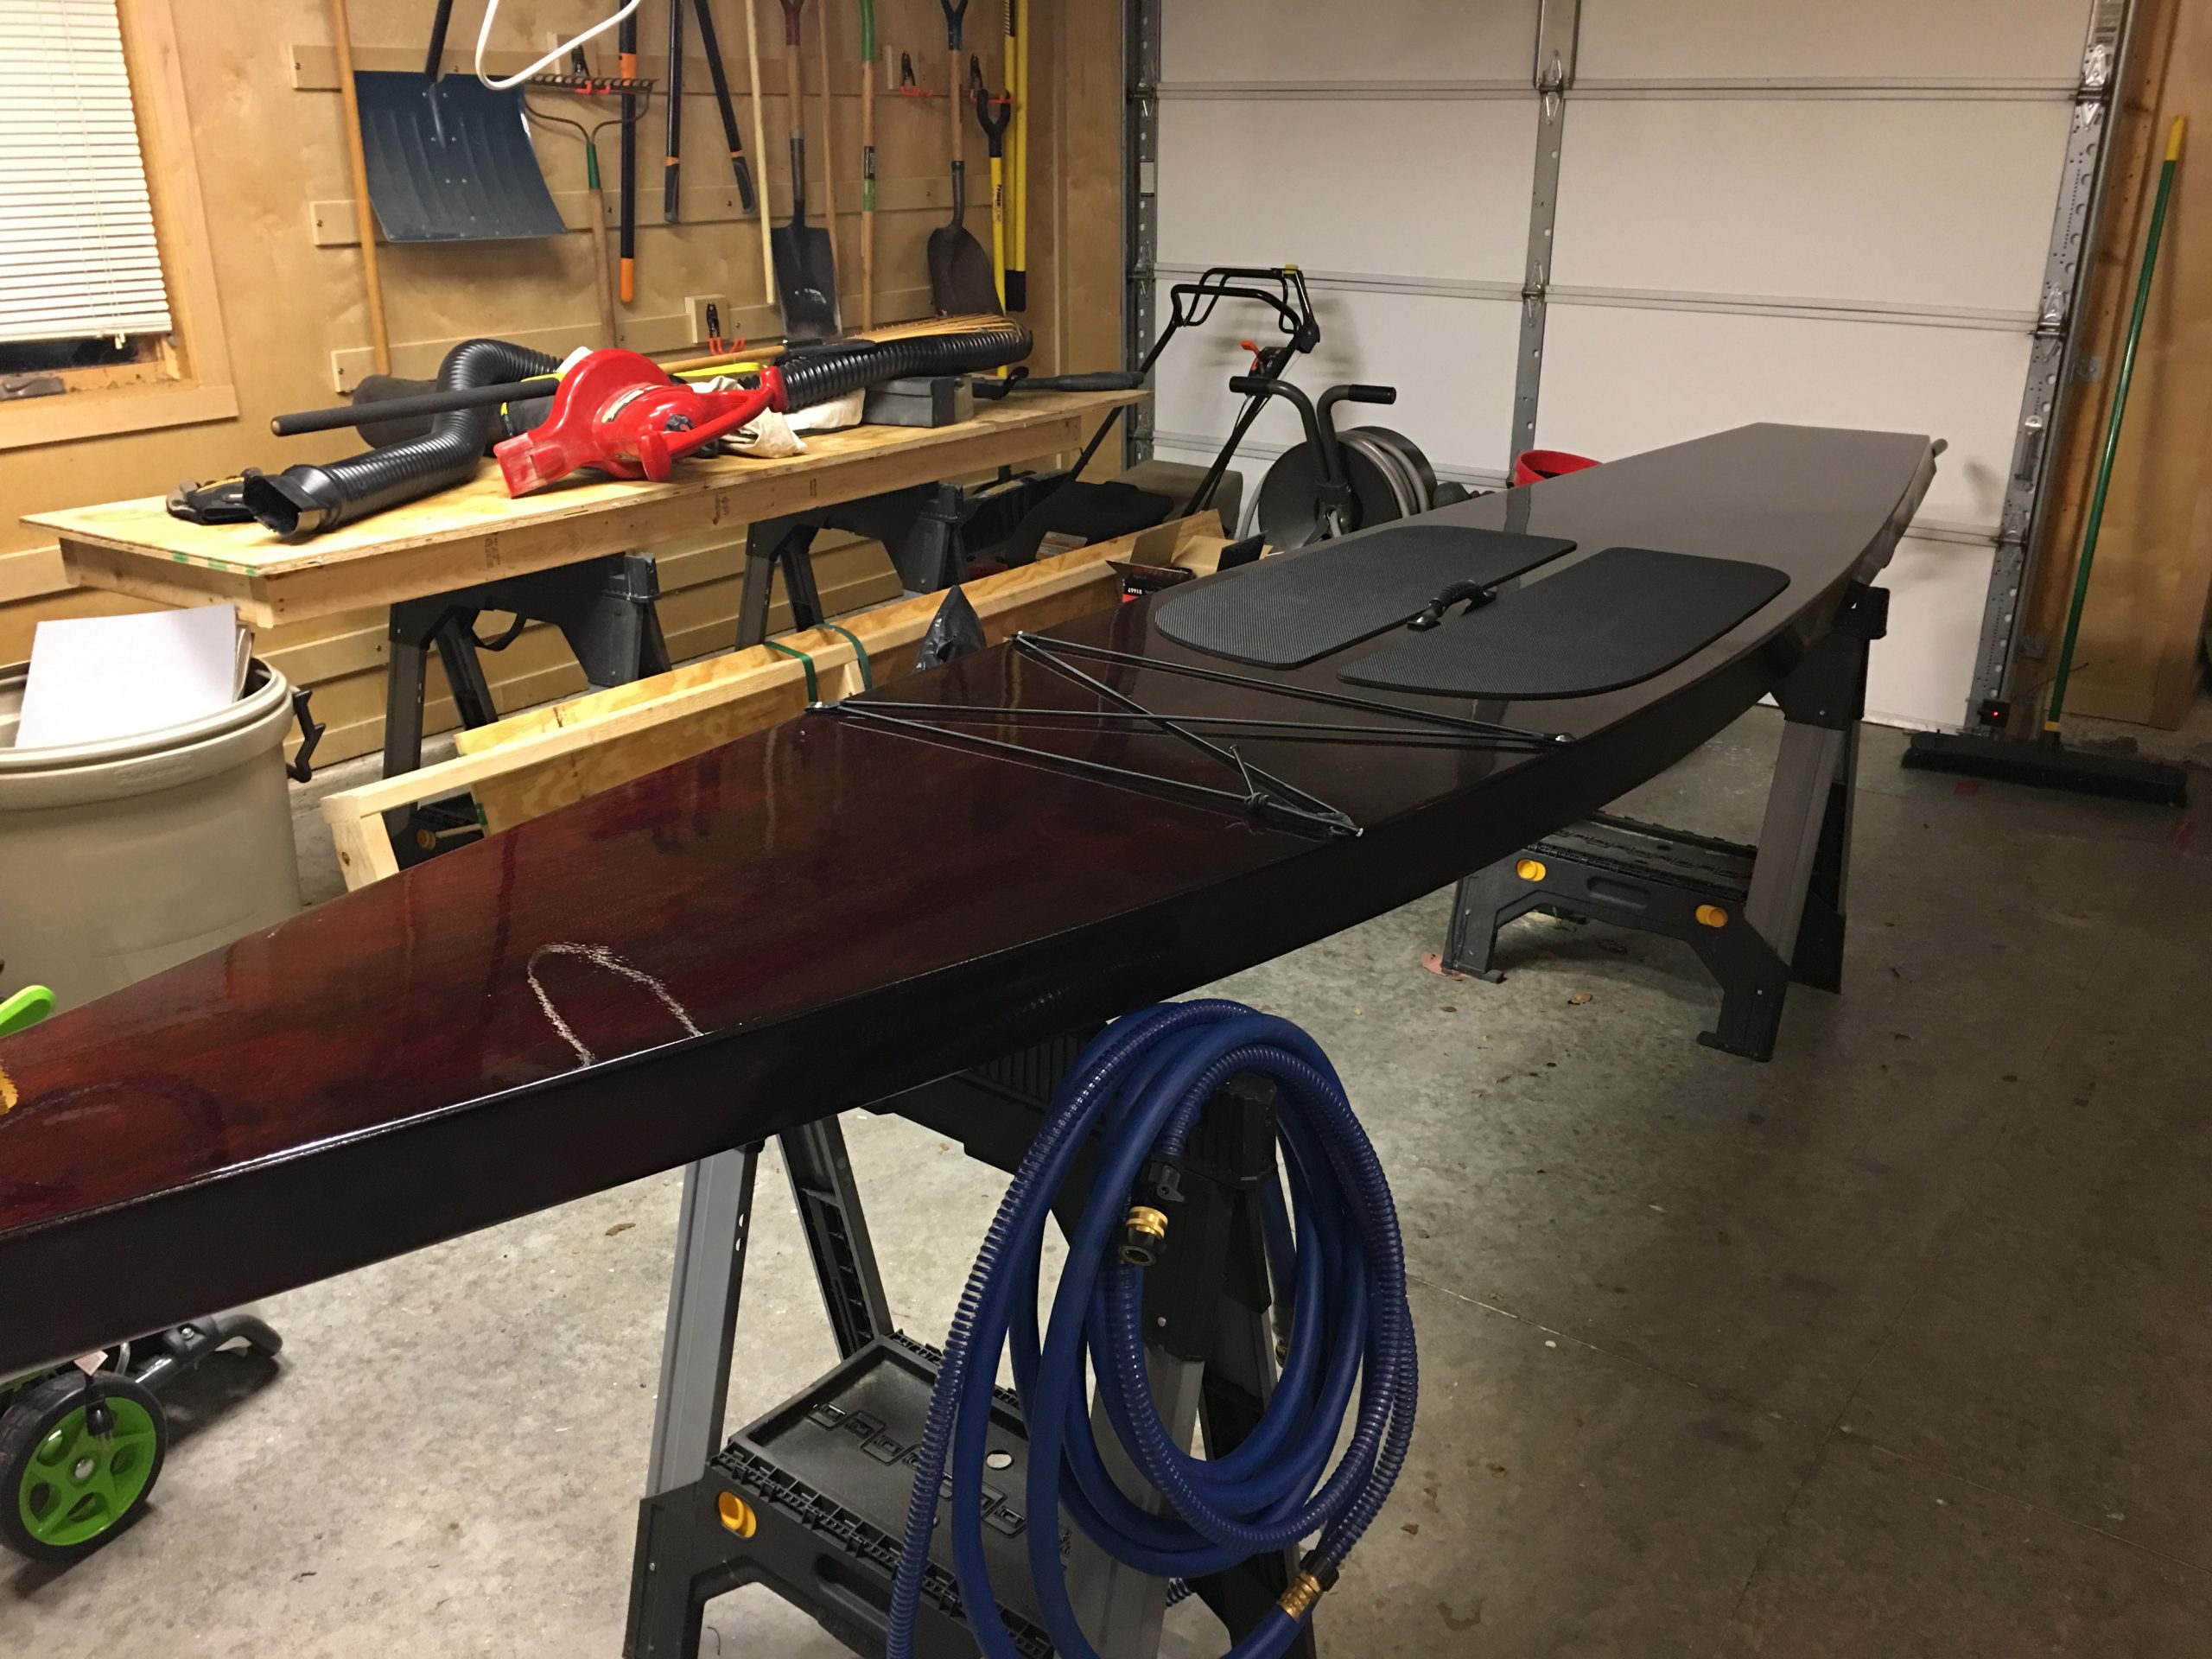
Don’t get it dirty!